

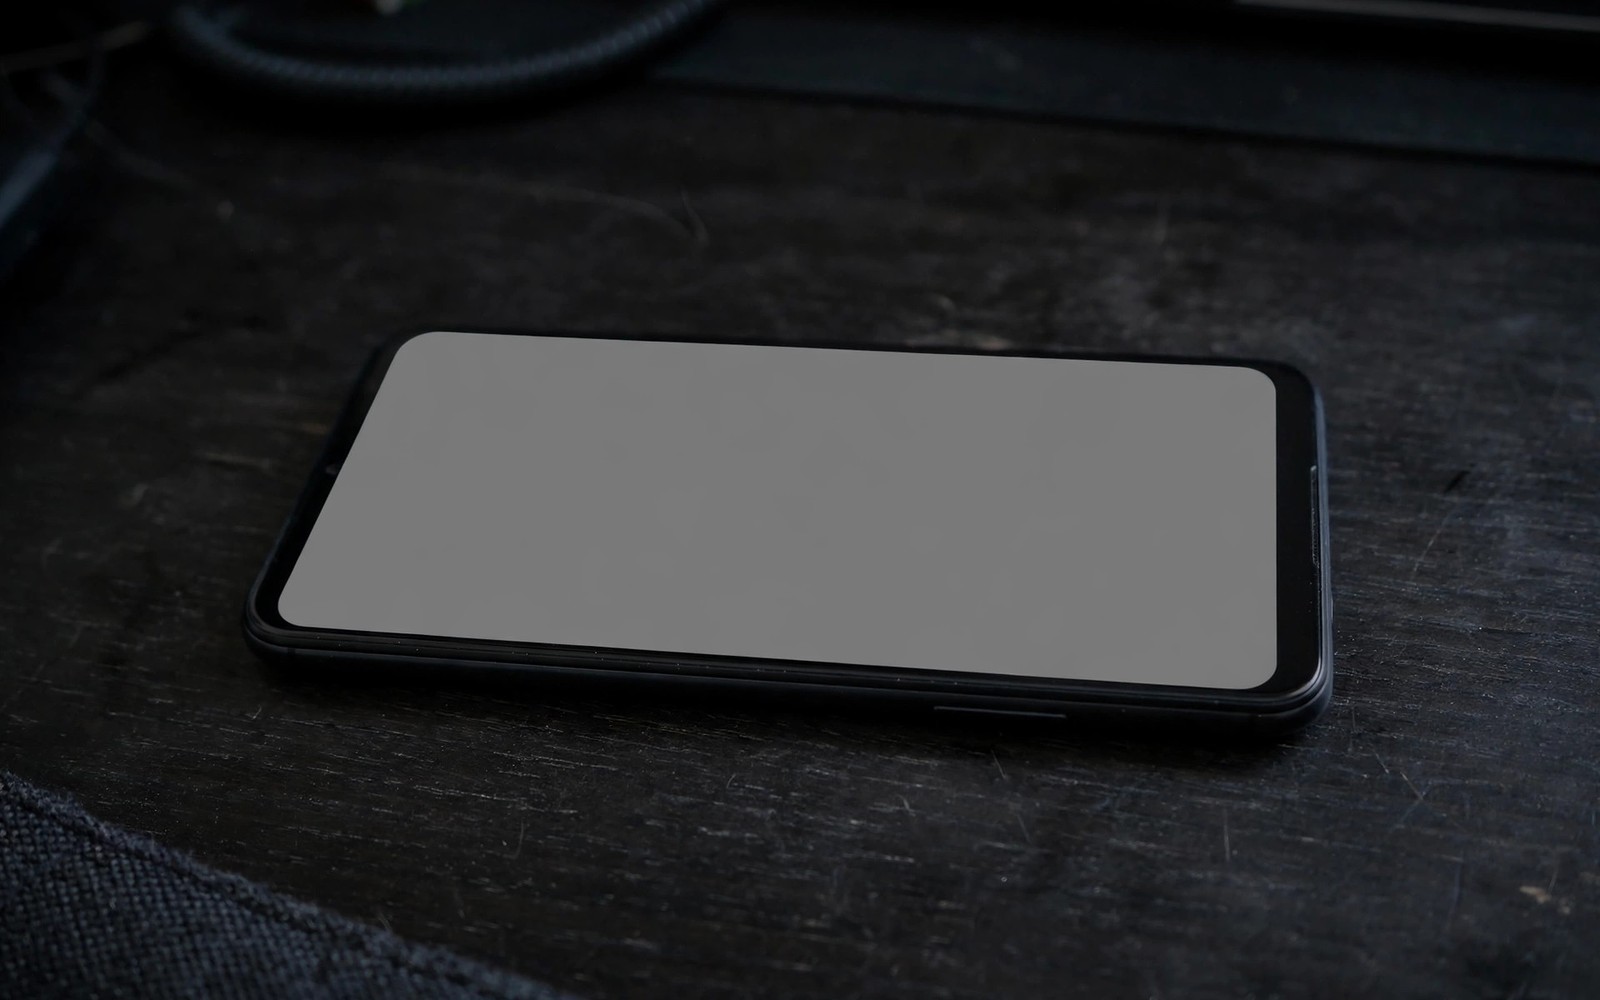
Evaluating Screen Burn-In on Pre-Owned OLED Display Screens
A used phone can look perfect in a bright shop and still carry a ghost on its screen. I learned that the hard way when a phone I bought in a hurry showed a faint keyboard outline every time I opened a white page. The seller had not lied exactly. He had simply never looked at the screen the way a careful buyer should. That single mistake cost me weeks of irritation, because the screen is the part of a phone you look at all day, every day.
Burn-in on an OLED panel is not a software bug and it does not wash out with a reset. It is uneven pixel wear. Some pixels have worked harder than their neighbours for months or years, and they now shine a little less brightly. The result is a faint copy of a status bar, a navigation bar, a keyboard, or a game interface that stays visible over whatever you open next. This guide gives you a test routine you can run in ten minutes, in a shop or at a seller’s home, with nothing more than a second device and a dim room.
This article is for anyone buying a second hand phone with an OLED screen, whether it is a Samsung Galaxy, a Google Pixel, a OnePlus, or an older flagship from another maker. You will learn what burn-in is, how it differs from temporary retention, how to test with solid colours and real content, how to grade severity, and how much a ghosted screen should change the price. You will also learn how to keep your next OLED panel healthy for longer once it is yours.
What OLED Burn-In Really Is on a Used Phone Screen
An OLED screen makes its own light. Every pixel is a tiny organic light source, and each one dims a little as it ages. That is normal. The problem starts when some pixels age faster than others because they have shown the same bright shape, day after day, while the pixels around them rested or changed. A navigation bar that sat at the bottom of the screen for two years leaves its pixels dimmer than the rest. A clock that sat in the same corner of an always-on display does the same thing in a smaller area.
Blue sub-pixels age fastest, which is why burn-in often shows up first as a colour shift rather than a simple shadow. A white page can look slightly patchy, with one corner a touch warmer or cooler than the rest. Red and green sub-pixels age more slowly, so a ghost that is invisible on a red slide can still appear clearly on a blue slide. That is why a serious test uses several colours instead of one. One colour can hide what another colour reveals.
Panel makers know about this wear, and modern phones fight it with small tricks. Pixel shifting moves a static image by a pixel or two every few minutes, so no single pixel carries the same load all the time. Many phones dim the status bar slightly, or move the always-on clock around the screen. Some launchers hide the navigation bar when you scroll. These measures slow the wear, but they cannot stop it when a phone has spent years at maximum brightness with the same apps open for hours at a time.
How uneven pixel ageing creates a visible ghost
Picture a phone used mainly for navigation. The map app shows the same bottom bar and the same top icons for hours each day. Those pixels run bright and hot while the middle of the screen changes constantly as the map moves. After a year, the bottom bar pixels have aged more than the middle pixels. Open a plain grey screen and the bar appears as a faint, darker band, even though the map app is closed. The shape matches the old interface exactly, which is the giveaway that you are looking at burn-in and not a random fault.
The same pattern shows up with social apps, video players, and games. A video app leaves its play controls in the same place. A game leaves its health bar and its menu buttons in the same place. A messaging app leaves its keyboard in the same place. When you test a used phone, think about what the previous owner probably did with it for hours at a time, and check those zones first. The ghosts will be there if the wear was heavy.
Why high brightness speeds up OLED wear
Brightness is the biggest accelerator. A pixel running at full brightness ages far faster than the same pixel at half brightness. A phone that lived outdoors at maximum brightness, or a phone whose owner disabled auto brightness and left the slider at the top, will show wear sooner than a phone that lived mostly indoors at moderate brightness. Ask the seller about brightness habits. A vague answer is not proof of anything, but a seller who says they always used auto brightness is a better sign than one who brags about keeping the screen at full brightness all day.
Why always-on display use matters when you inspect a used OLED
Always-on display features are convenient, and on many phones the clock shifts position to spread the wear. Even so, a clock that sat in the centre of the screen for two years has aged those pixels more than the rest. Check the centre of the screen on a grey slide for a faint clock or date shape. A faint shape there is not a deal breaker on its own, but it tells you the previous owner used the feature heavily, and it should be part of your price judgement.
Burn-in is permanent wear, not a stain you can clean
No app, no settings change, and no screen cleaner can bring a worn pixel back to full brightness. Some apps claim to fix burn-in by flashing bright colours or by running the screen at full brightness for hours. In practice, those tricks either do nothing, because the worn pixels cannot recover, or they make things worse by ageing the healthy pixels to match the worn ones. That evens out the picture by dimming everything, which is a poor trade. Walk away from any seller who promises a quick fix for a ghost you can already see.
How to Run the Solid Grey OLED Burn-In Test
The solid grey slide test is the single most useful check you can run, and it takes less than a minute. Grey sits between black and white, and it shows uneven brightness better than any other colour. Black hides wear because the pixels are off. White can hide faint wear because every pixel is working hard. Mid grey, at about 50 percent brightness, puts the pixels in the range where a small difference in ageing becomes visible as a faint shape.
Before you start, find a dim room. A bright shop floor is the worst place to judge a screen, because overhead lights wash out faint ghosts and the glare hides the edges of the panel. Step into a shaded corner, a hallway, or the seller’s car with the doors closed. Turn the phone brightness to about half, open a full-screen grey image, and let your eyes adjust for ten seconds. Then look slowly across the screen, from top to bottom and from corner to corner, instead of staring at the centre.
Keep a second phone or a tablet with you, with grey, red, green, blue, and white images saved in its gallery. That way you do not need to rely on the seller’s Wi-Fi, and you do not need to install anything on the phone you are about to buy. Display each image full screen on the phone under test, using the gallery app or a browser opened in full screen, and hide the navigation bar if the phone allows it. The navigation bar itself can hide the very ghost you are trying to see.
Step one: prepare the phone and the room before you test
Charge is not the issue here; light and settings are. Turn off auto brightness so the screen does not jump between levels while you look. Set the screen timeout to two minutes or more so the display does not go dark mid-test. Turn off blue light filters and night mode, because a warm filter changes the colour of every slide and can hide a blue pixel problem. Close every app, then open the grey image and leave it on screen while you inspect it from a normal reading distance, about 30 centimetres from your eyes.
Hold the phone still and tilt it slightly from side to side. Some ghosts are easier to see at a slight angle, because the viewing angle changes how the dimmer pixels catch the light. Do not press on the screen, and do not rub it. Pressure can create a temporary mark that looks like a fault and confuses the result. A calm, slow scan beats a rushed glance every time.
What a clean grey slide should look like on a healthy OLED
A healthy panel shows a smooth, even grey from edge to edge, with no lines, no bars, and no shapes. Very slight unevenness near the curved edges of some phones is common and is not burn-in. What you are looking for is a shape you can name: a bar, a keyboard, a circle, a clock, a row of icons. If you can name the shape, you have found burn-in. If you cannot see any shape after a slow scan, the panel passes the grey test, and you move on to the colour slides.
Step two: scan the top bar, bottom bar, and keyboard zones
Start at the top, where the status bar lives. Look for a faint battery icon, a clock, or a signal symbol. Then move to the bottom, where the navigation bar or gesture bar sits. Look for a faint line or a row of three shapes. Then check the lower middle, where the keyboard appears. A keyboard ghost looks like a grid of small rectangles, and it is one of the most common patterns on phones used heavily for messaging. Note every ghost you find, even a faint one, and take a photo of the screen if the light allows. A photo gives you evidence for negotiation and a record to compare with other phones.
On my own inspection of a two-year-old flagship, the grey slide showed nothing at first glance in a bright room. In a dim hallway, the same slide showed a faint navigation bar at the bottom and a faint clock at the top. That phone was still usable, and the ghosts were invisible in normal use, but they were real, and they were worth a discount. The lesson is simple: a test done in the wrong light is worse than no test, because it gives you false confidence.
Testing OLED Burn-In With Red Green and Blue Slides
After the grey slide, run the same slow scan on solid red, solid green, and solid blue, in that order. Each colour drives a different set of sub-pixels, so each colour can reveal wear that the others miss. Red shows wear in the red sub-pixels, which often comes from apps with red interfaces or red notification badges. Green is usually the most even colour on an OLED panel, so a ghost on green is a strong sign of heavy wear. Blue is the most revealing colour of all, because blue sub-pixels age fastest and because many status icons use white, which drives blue hard.
Use the same brightness and the same dim room for every colour. Changing the brightness between slides makes the results hard to compare. Keep the timeout long, keep the navigation bar hidden, and give your eyes a few seconds to adjust after each colour change. A bright red slide can leave a brief after-image in your own eyes, so look away at a neutral wall for a few seconds between colours if you need to. What you are judging is the screen, not your eyes.
If a ghost appears on grey and on blue but not on red, that pattern fits normal OLED ageing, with blue wear leading the way. If a ghost appears on every colour, the wear is deeper and the panel has lived a hard life. If a ghost appears on only one colour and only faintly, note it as mild and keep testing with real content before you decide. A single faint mark on one colour does not automatically kill a deal, but it should lower the price you are willing to pay.
How to read colour slides without fooling yourself
The most common mistake in colour testing is to call a reflection a ghost. Overhead lights, windows, and your own face can reflect in the glass and look like a shape on the screen. Turn the phone slightly, and a reflection moves while a real ghost stays in the same place. If the shape moves when you move, it is a reflection. If it stays fixed to the same part of the screen, it is burn-in. That one check saves a lot of false alarms.
Another mistake is to test at full brightness. Full brightness floods the panel with light and can wash out a faint ghost, especially on white and on bright colours. Medium brightness, around 40 to 60 percent, is the sweet spot for most phones. Test at low brightness too, around 20 percent, because some ghosts only show up when the panel is dim and the worn pixels struggle to keep up with the rest.
Checking Burn-In in Real Videos Photos and Everyday Apps
Solid colour slides are sensitive, but they can also make a tiny fault look bigger than it is in daily use. That is why the second half of the test uses real content. A ghost that is obvious on a grey slide but invisible in a video, in a photo gallery, and in a reading app is a mild fault. A ghost that follows you through a bright video, a photo, and a plain reading page is a moderate or severe fault, and it will annoy you every day.
Play a video with bright, moving scenes for a minute. A nature clip or a sports clip works well, because the picture changes constantly and any static ghost stands out against the motion. Then open the photo gallery and swipe through varied photos: a beach, a portrait, a city street. A ghost that appears over every photo, in the same place, is burn-in. Then open a reading app with a plain white or off-white background and scroll slowly. Reading pages are ruthless, because the background is uniform and your eyes are focused on the text, so a status bar ghost above the text is hard to miss.
Check the keyboard area again with real content. Open a notes app, tap into a text field, and look at the area above the keyboard while you type a few words. Then close the keyboard and look at the same area on a plain page. A keyboard ghost will appear as a faint grid in both views. Do the same for the video player controls and for the social app navigation area. These zones suffer static exposure most, and ghosts in several zones at once signal heavy past use rather than a single unlucky app.
What the seller’s usage history tells you about the panel
Ask the seller, in plain terms, how they used the phone. Did they use it for navigation every day? Did they play the same game for hours? Did they leave the screen on at full brightness while watching videos? Did they use always-on display? Honest answers help you read the test results. A phone with a faint navigation bar ghost and a seller who drove with maps open for two years is a consistent story. A phone with ghosts everywhere and a seller who claims they barely used it is a story that does not add up, and that should make you more cautious about everything else the seller says.
The general hardware checks in older flagship cameras include these colour tests alongside camera and touch checks. Combine the burn-in test with a touch test, a speaker test, and a camera test before you judge a phone as a whole. A screen fault is only one part of the value, but it is the part you will notice most often, so give it the time it deserves.
How to photograph a ghost so the seller can see it too
Photographing a faint ghost is harder than seeing it, because a camera can wash out the difference. Turn off the flash, use the dim room, and hold the second phone steady with both hands. Tap on the screen in the camera app to lock focus and exposure on the panel, then take the shot. Take two or three photos at slightly different angles. If the ghost shows up in the photo, you have clear evidence for a price discussion. If it does not show up, that does not mean the ghost is imaginary; it means the camera could not capture a faint difference that your eyes could see. Trust your eyes, and use the photo as a bonus, not as the verdict.
Grading OLED Burn-In Severity and What It Does to Price
Grading matters, because a faint ghost and a severe ghost are not the same problem and they should not carry the same discount. Use three grades and be honest about which one you are looking at. Mild means a ghost is visible only on a grey or blue slide in a dim room, and invisible in normal use. Moderate means a ghost is visible on normal content, such as videos and reading pages, but does not block text or ruin photos. Severe means a ghost is visible in a bright room, over bright content, and it distracts you every time you use the phone.
Mild burn-in suits a discounted purchase, especially if the rest of the phone is in good shape and the price already reflects its age. A small discount, in the range of 5 to 10 percent off a clean-screen price, is fair for mild wear that you will rarely notice. Moderate burn-in deserves a larger discount, often 15 to 25 percent, because the ghost is part of daily use and because it will lower the price again when you sell the phone on. Severe burn-in should end most deals. A phone with severe burn-in is only worth buying if the price already includes the cost of a screen replacement, and you have checked that cost for that exact model.
Screen replacement is expensive on OLED phones, and it is not just the panel. A replacement can cost anywhere from a quarter to half of the used price of the phone, depending on the model, and on some phones the fingerprint sensor is built into the screen, so a poor replacement can break fingerprint sign-in. Check the replacement cost before you negotiate, not after you have paid. A cheap phone with severe burn-in is rarely cheap once you add the repair bill.
| Severity grade | Where the ghost is visible | Effect on daily use | Fair price action |
|---|---|---|---|
| Mild | Grey or blue slide in a dim room only | Rarely noticed in normal use | Small discount, 5 to 10 percent |
| Moderate | Videos, photos, and reading pages | Visible daily, but text stays readable | Larger discount, 15 to 25 percent |
| Severe | Bright room, over bright content | Distracting every time you use the phone | Walk away, or price in a full screen replacement |
Compare burn-in severity across listings before you settle on one phone. A clean screen justifies a higher price, and a ghosted screen justifies a lower one, but the rest of the phone matters too. Battery health, storage size, camera condition, and the presence of the original box and charger all move the price. The value logic in sensor test codes helps you price screen faults alongside other hardware faults, so you do not overpay for one good part while ignoring another weak one.
How to negotiate a ghosted screen without losing a good phone
Show the seller the ghost, calmly, on the grey slide. Do not argue about whether it is real; show it, and let the seller see it with their own eyes. Then state the grade and the discount you think is fair, and explain why. A seller who sees the ghost is far more likely to accept a fair discount than a seller who is told about it in words alone. If the seller refuses any discount for a moderate ghost, walk away. Another phone will appear, and you will not spend months regretting a screen you look at every day.
When a mild ghost is worth accepting
A mild ghost on an otherwise excellent phone, at a fair price, is a reasonable buy. The ghost will not get dramatically worse overnight if you use moderate brightness and vary your content, and you will forget it exists within a week. The mistake is to pay a clean-screen price for a mild ghost. Pay the ghosted price, enjoy the phone, and put the money you saved toward your next upgrade.
When to walk away from a used OLED phone
Walk away when the ghost is severe, when ghosts appear in several zones at once, when the screen also has touch faults, or when the seller will not let you test in a dim room. Any one of those signs is a warning. Together, they are a clear no. A phone is a daily tool, and a screen you cannot stand looking at is a bad tool at any price. There are many used OLED phones for sale, and patience is cheaper than a replacement screen.
Burn-In Versus Image Retention Dead Pixels and Tint Shifts
Not every mark on a screen is burn-in, and a wrong diagnosis can cost you a good phone or make you accept a bad one. Temporary image retention looks like burn-in for a few minutes, then fades. It happens when a static image has been on screen for a while and the pixels need a moment to recover. The test is simple: display varied content for ten minutes, then check the grey slide again. A ghost that has faded or vanished was retention. A ghost that is still there, in the same place and at the same strength, is burn-in. Retention needs no discount. Burn-in does.
Dead pixels are different again. They appear as tiny black dots, or as bright dots that never turn off, and they do not match the shape of any app interface. A single dead pixel is a minor fault, but a cluster of them, or a line of dead pixels, is a bigger problem. Backlight bleed is an LCD fault, not an OLED fault, and it shows as bright patches at the edges on a dark screen. On an OLED panel, a bright edge on a black screen is more likely to be a panel defect than burn-in, and it deserves its own price discussion.
Colour tint shifts often travel with burn-in. Ageing pixels shift colour unevenly, so a white screen can look patchy, with one area slightly pink and another slightly green. Judge tint on a white slide in a dim room, and look at the whole screen rather than one corner. A patchy white that bothers you during reading is worth a discount similar to mild burn-in. A slight tint that you only notice when you look for it is a minor point, and it should not kill an otherwise good deal.
How to tell retention from burn-in in ten minutes
Open a fast-moving video or a photo slideshow and let it run for ten minutes at normal brightness. Then open the grey slide again and look at the same spot. If the ghost is gone, it was retention, and you can stop worrying about that mark. If the ghost is still there, record it as burn-in and grade it. Do this test before you negotiate, because a seller who knows the difference will respect a buyer who does, and a buyer who confuses retention with burn-in can lose a good phone over a mark that would have faded on its own.
Why touch faults sometimes appear alongside screen ageing
Burn-in itself does not cause touch faults. The two problems are separate. But a phone that has been dropped hard enough to damage its touch layer may also have a screen that has lived a rough life, and the two faults can appear together. Test touch fully: drag an icon slowly across the whole screen, edge to edge, and watch for jumps or dead spots. A screen with burn-in plus touch faults needs a replacement, and the replacement cost should drive your negotiation hard. Do not let a seller price the phone as if only one fault exists when two are present.
OLED Versus LCD for Second Hand Buyers
LCD screens never suffer burn-in, because they use a backlight that ages evenly instead of individual light-making pixels. That is a real advantage for a used phone that will show static content for hours, such as a delivery phone, a navigation phone, or a phone used mainly for maps. LCD contrast lags behind OLED, and blacks look grey rather than truly black, but for static-heavy use the durability of LCD can matter more than the contrast of OLED.
OLED wins on media quality. Videos look richer, blacks are truly black, and colours have a depth that LCD struggles to match. For a phone used mainly for video, photos, and reading in the evening, a clean OLED panel is the better experience, even with the small risk of burn-in. The choice is not about which technology is better in general. It is about which one fits the way you will actually use the phone, day after day.
Repair cost is the other half of the choice. OLED panels cost more to replace than LCD panels, often by a wide margin, and on some models the replacement panel is the single most expensive part of the phone. LCD faults rarely force a full panel replacement, and when they do, the bill is usually lower. Total ownership cost therefore favours LCD for rough use, while media quality favours OLED for careful users. Judge each individual panel through the tests in this guide, because panel type alone never decides quality. A high quality LCD can beat a poor OLED, and a flagship OLED in good shape beats a budget LCD clearly.
Which panel type suits your daily use
If your day is maps, delivery apps, and long sessions in one app, an LCD phone, or an OLED phone with a clean panel and a habit of hiding the navigation bar, will serve you well. If your day is video, photos, and reading, a clean OLED panel is worth the extra care. Match the panel to your usage honestly, and do not buy an OLED phone for static-heavy work and then complain when the ghost appears. The panel did not fail you. The choice did.
Frequently Asked Questions About OLED Burn-In on Used Phones
Can OLED burn-in be fixed by an app or a settings change?
No. Burn-in is physical wear in the pixels, and no app can restore a worn pixel. Apps that flash bright colours try to even out the wear by ageing the healthy pixels, which dims the whole screen and does not bring the worn pixels back. A settings change can make a ghost less noticeable, for example by using dark mode or by lowering brightness, but it does not remove the ghost. The only real fix is a screen replacement, and that is a repair, not a setting.
How long does it take for OLED burn-in to appear?
It depends on brightness, content, and the panel. A phone used at moderate brightness with varied content can go three or four years with no visible burn-in. A phone used at maximum brightness with the same navigation app open for hours each day can show a faint ghost within a year. Most used phones you inspect will be between one and three years old, so the range is wide. That is why testing matters more than guessing from age alone. A two-year-old phone from a careful owner can have a cleaner panel than a one-year-old phone from a heavy static user.
Is mild OLED burn-in a reason to reject a used phone?
Not automatically. Mild burn-in that is only visible on a grey slide in a dim room will not affect your daily use, and it is common on phones that are two or more years old. What matters is the price. If the seller has priced the phone as if the screen were clean, the deal is wrong. If the price reflects the mild wear, and the rest of the phone is in good shape, the deal can be fair. Reject the price, not the phone, when the ghost is mild.
Does dark mode prevent OLED burn-in on a used phone?
Dark mode helps, because dark pixels work less hard than bright ones, and a dark interface spreads the load more evenly across the panel. It does not prevent burn-in on its own, and it does not fix wear that is already there. Combine dark mode with moderate brightness, a short screen timeout, hidden navigation bars where possible, and varied content, and you will slow future wear noticeably. Think of it as one habit in a set, not as a single cure.
Should I choose LCD instead of OLED to avoid burn-in completely?
If you use static apps for hours each day and you keep phones for many years, an LCD phone removes the burn-in worry entirely, and that peace of mind is worth the lower contrast. If you care most about video quality and deep blacks, a clean OLED panel is still the better screen, and the burn-in tests in this guide let you buy one with confidence. There is no wrong answer, only a wrong match between the panel and the way you use it.
Your Next Step Before You Pay for a Used OLED Phone
Save a grey, red, green, blue, and white image on a second device tonight, before you go to look at any phone. When you meet the seller, ask for a dim room, set brightness to half, and run the grey slide first, then the colours, then a video and a reading page. Grade what you find, check the replacement cost for that model, and negotiate from the grade, not from a feeling. The camera strengths in maximum trade-in value matter less on a ghosted screen, and a clean panel is worth paying a fair price for, because it is the part of the phone you will look at every single day.
Buy the cleanest panel you can afford, use moderate brightness, hide the navigation bar when you can, and vary what you watch. Those small habits will keep your OLED screen looking good for years, and the ten minutes you spent testing before you paid will be the best ten minutes of the whole purchase.

