

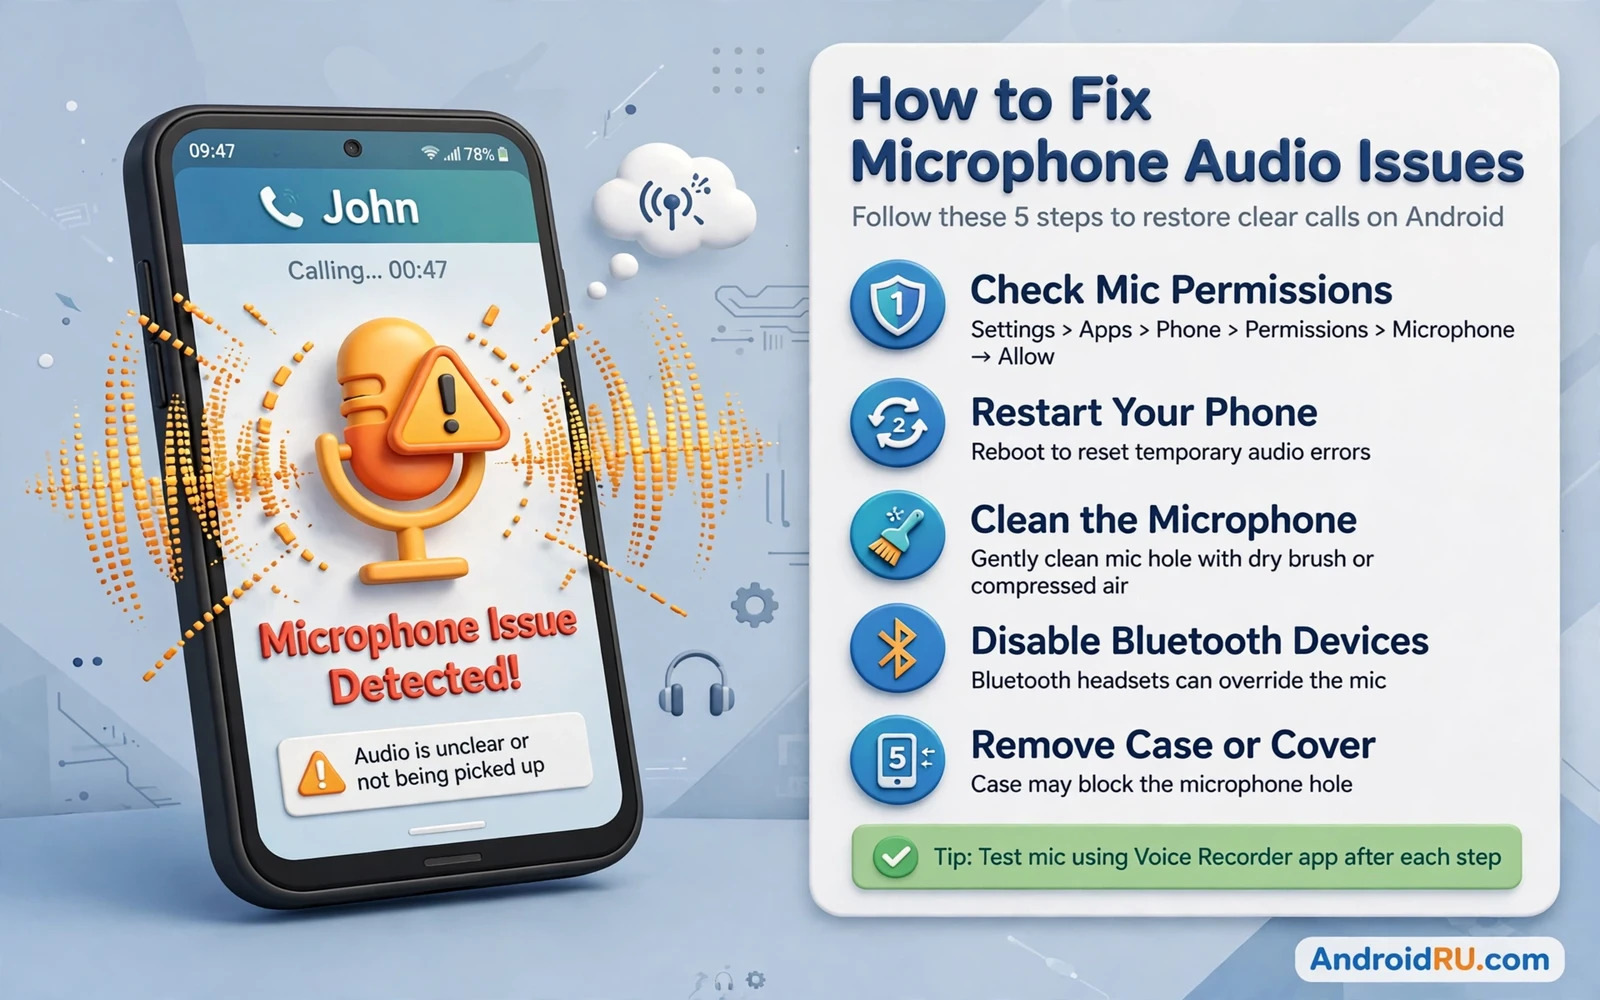
Why Callers Hear You Poorly
A microphone problem during a call can feel confusing because the phone looks normal and the call connects without any error. The other person may hear you faintly or hear cutting audio or hear nothing at all while you hear them clearly. That one-way pattern points to the microphone path and not to the network alone. A blocked hole and a denied permission and a faulty accessory can all create the same symptom. A calm step-by-step test can separate a simple blockage from a deeper hardware fault.
Start with the simplest test before you change any setting on the phone. Call a trusted contact and ask them to describe exactly what they hear while you speak at normal volume. Ask whether your voice sounds distant or broken or muffled or completely silent. Ask whether the problem stays the same when you switch from the earpiece to the loudspeaker. Those answers guide the next step and they prevent random setting changes that waste time. Write down the answers so you can compare them after each fix.
Check Permission And App Access First
Open Settings and tap Privacy and then tap Permission manager and then tap Microphone to see which apps can use the microphone. The phone app must have microphone access allowed while it is in use or at all times on some phone models. A permission that was denied during setup can silence every call even though the hardware works perfectly. Grant the permission again and then place a test call to confirm that the change took effect. If the permission keeps resetting then check whether a privacy dashboard or a work profile is controlling it.
Also check whether a recent update changed microphone access for the phone app or for a calling app that you use. A messaging app that handles calls needs the same permission as the stock phone app. Open the app info page for each calling app and confirm that microphone permission is allowed. Deny microphone access for apps that do not need it because a background app can hold the microphone and block the call. A clean permission list gives the active call full control of the microphone.
Inspect The Microphone Hole And Case
Look closely at the small microphone hole at the bottom edge of the phone and check for lint and dust and pocket debris. A thin layer of dust can muffle voice badly while the phone still records some sound. Use a soft dry brush or a short burst of air from a safe distance and never push a sharp pin deep into the hole. A sharp object can damage the internal mesh and turn a cleaning job into a repair job. Remove the case and repeat the test call because a thick case can cover the hole partly.
Check whether a screen protector or a case flap covers a second microphone near the top of the phone. Many phones use a second microphone for noise cancellation and covering it can make voice sound hollow or distant. Test the call with the case removed and with the case fitted to see whether the case changes the result. If the case is the cause then replace it with a case that has a precise cutout for every microphone hole. A good case protects the phone without silencing your voice.
Test With Speaker And With Accessories
Place a test call on loudspeaker and ask the other person whether your voice becomes clearer. Loudspeaker mode often uses a different microphone path and a clear result on loudspeaker points to the main microphone path as the fault. Test again with wired earphones if you have a trusted pair and test again with a Bluetooth headset if you use one daily. A clear result with earphones points to the phone microphone while a poor result on every path points to a setting or a network issue.
Accessory pairing problems can mimic a microphone fault and the pairing steps in How to Fix Bluetooth Pairing Failures on Android Accessories help you rule out a headset fault before you blame the phone. Disconnect every Bluetooth device and test a plain call with no accessory attached. If the plain call sounds clear then the fault lives in the accessory or its connection. Reconnect one accessory at a time and test after each one so you can name the faulty device.
Restart And Safe Mode Tests
Restart the phone and place a test call before you open any other app. A restart clears a stuck audio service and releases a microphone that a crashed app was holding. If the call sounds clear after a restart then watch which app you open next because that app may be grabbing the microphone again. A voice assistant or a recorder app can hold the microphone in the background on some phones. Close background apps one by one and test again after each close.
Safe mode is a strong test when the problem returns after a restart. Safe mode loads only system apps and it blocks third-party apps from running. Place a test call in safe mode if your phone model allows calls in that mode and compare the result with normal mode. A clear call in safe mode points to a third-party app as the cause. Restart normally and uninstall recent voice and recorder apps one by one until the fault disappears.
Check Voice Recorder And Video Sound
Open the stock voice recorder and record a short sentence at normal volume in a quiet room. Play the recording back and listen for faint sound and distortion and cutting. A clear recording suggests that the microphone hardware works and the fault may sit in the calling app or the network. A poor recording confirms a hardware or system audio fault that affects every app. Compare the recorder result with a short video recording because video may use a different microphone.
If the recorder sounds clear but calls sound poor then check the calling app settings for noise suppression and voice enhancement. Some apps apply strong noise removal that can cut a quiet voice along with background noise. Turn off extra voice effects for one test call and see whether your voice becomes fuller. Also check whether Wi-Fi calling is active because a weak Wi-Fi call path can break voice even when the microphone works. Switch Wi-Fi calling off for one test and compare the result.
Network And Carrier Checks
Move to a location with a stronger signal and place another test call. A weak mobile signal can break voice packets and make a healthy microphone sound choppy. Test with mobile data off and on if your carrier supports voice over LTE and check whether the fault changes with the network mode. Ask the other person whether they hear the same fault when you call from a different location. A fault that follows location points to coverage while a fault that follows the phone points to the device.
Remove and reseat the SIM card only after you power off the phone fully. A loose SIM can affect call routing on some models even though data still works. Clean the SIM contacts gently with a dry cloth and insert the card firmly before you power on again. Test a call and check whether the fault changes. Do not bend the SIM tray and do not force a card that does not fit because a damaged tray creates a new problem.
Update Software And Reset App Preferences
Check for a system update because an audio driver fix can arrive quietly inside a monthly update. Install the update over a stable connection and restart the phone before you test again. Also update the phone app and any calling app that you use because an old app build can mishandle microphone routing. A single update can restore a microphone path that a previous update broke. Keep a note of the update result so you do not repeat the same step blindly.
When a single app keeps crashing or misbehaving after an update the cleanup steps in How to Fix Camera App Crashing constantly on Android show the same safe pattern of clearing cache and testing again. Open app info for the phone app and clear its cache without clearing its data at first. Clearing cache removes temporary files while it keeps your call history and settings. Test a call after the cache clear and only clear data as a later step if the fault remains.
When Hardware Repair Is The Honest Answer
A microphone that stays silent in the recorder and in video and in calls after cleaning and after safe mode likely has a hardware fault. Water exposure and a hard drop can damage the microphone mesh or its connection inside the phone. Do not open the phone yourself unless you accept the risk of losing water resistance and voiding warranty cover. A repair shop can test the microphone module and replace it without risking other parts. Back up your data before you hand the phone over for repair.
Ask the repair shop to test the phone with you present and to show you the before and after recording result. A clear test after repair proves that the fix worked and it protects you from paying for an unrelated part. Keep the repair receipt and note the part that was replaced. A documented repair also helps if the fault returns within the warranty period for the repair. A calm repair decision beats repeated software resets that cannot fix broken hardware.
A Practical Checklist For Clear Calls
Work through permission and cleaning and accessory tests in order and the storage and cache routine in How to Clear System Cache Partition to Speed Up Performance can help when a sluggish system adds audio trouble. Test after each change and stop as soon as the call sounds clear. A methodical order saves time and it shows exactly which change fixed the problem. Share the winning step with family members who use the same phone model.
Microphone Care For Everyday Calls
Keep the phone away from dusty pockets and from steamy bathrooms because dust and moisture can muffle the microphone over time. Wipe the bottom edge gently with a dry cloth once a week and check that no pocket lint has built up near the small hole. A clean microphone gives a clear voice without any software change. A weekly wipe takes less than a minute and it prevents a slow decline in call quality that is easy to miss.
Test your voice with a short recording once a month and listen for any new muffling or distortion. A monthly test catches a gradual fault before it becomes a problem during an important call. Compare the new recording with an older recording made in the same quiet room. A clear comparison shows whether the microphone is getting worse or staying stable. A stable microphone needs no further action.
Teach family members to speak toward the bottom of the phone and not toward the top edge during a call. A phone held upside down can point the main microphone away from the mouth and make voice sound faint. A correct hold gives the microphone the best signal with no extra effort. A small habit change can fix a fault that looks like a hardware problem.
Keep a spare headset in a drawer for days when the phone microphone misbehaves. A headset gives you a backup voice path for urgent calls while you arrange a proper fix. Test the headset once when you buy it so you know that it works. A tested backup removes panic when the main microphone fails at an awkward moment.
Keep the microphone hole clean and keep the case cutouts clear and keep microphone permission granted only to apps that truly need it. Review new apps after installation and deny microphone access for apps that have no voice feature. A clean phone and a short permission list give every call the best chance to sound clear. Your voice should reach the other person without strain and without repeated apologies for poor audio.

