

What unrooting really means
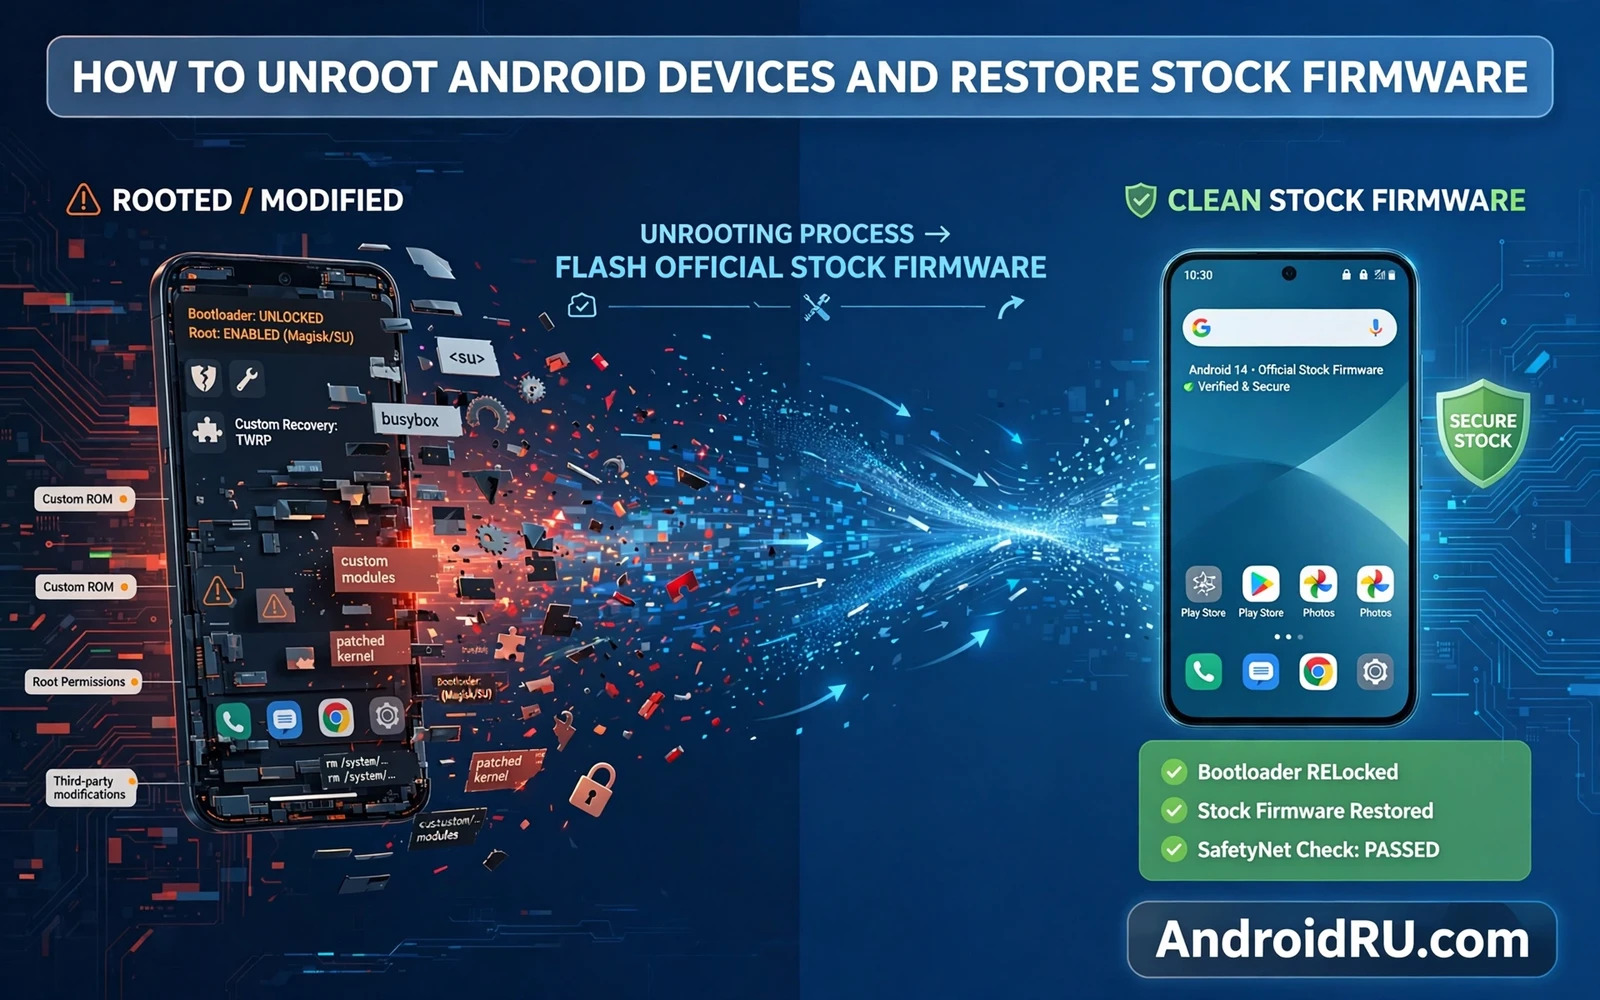
Unrooting removes high level access and restores the system toward its stock state. It removes the superuser manager and its binaries. It removes modules that modified the system at runtime. It restores the boot image when a custom boot image was used. It does not automatically erase a tamper flag stored in hardware. It does not automatically relock the bootloader. Those separate steps need separate actions. A phone can be unrooted yet still unlocked. A phone can be unrooted yet still carry a modified system.
Restoring stock firmware means flashing the official system package for the exact model. That package overwrites system partitions with maker signed images. It can repair a system damaged by modules or by a bad flash. It can also wipe user data depending on the flash method. Some flash tools offer a keep data option. That option is less reliable after heavy modification. A clean flash gives the most predictable result. A clean flash also demands a verified backup first.
Read this warning before you start an unroot or a restore. A restore can wipe photos and videos and documents and accounts. A wrong firmware package can brick a phone. A flash interrupted by a dead battery or a loose cable can leave the phone unbootable. A restore can void warranty claims when a tamper flag remains. Back up all data in two places before you flash. Do not restore stock firmware on your only phone without a spare device ready for communication. Keep the battery charged and keep the exact firmware file verified before you begin.
Preparation for a clean return
Start by listing every modification on the phone. Note the root method and the root manager name. Note every module that is active. Note any custom recovery or custom kernel. Note any system file change you remember. That list guides the removal order. Removing modules first reduces the chance that a module interferes with the restore. Disabling a module is not the same as removing it. Remove each module fully and reboot after removal when the tool advises it.
Back up data with the same care as a first time setup. Copy files to a computer. Sync contacts and messages through an account backup. Save authentication recovery codes on paper. Save app login details in a safe place. Test that copied files open on the computer. A backup that was never opened is only a hope. Keep the backup disconnected from the phone during the flash. A backup stored only on the phone will vanish during a wipe.
Download stock firmware only for the exact model and exact region and exact carrier variant when that variant matters. A firmware package for a sibling model can flash yet break mobile networks or sensors. Verify the file size and the file hash when the maker provides one. Store the firmware on a computer rather than only on the phone. Keep the flash tool version that matches the maker guidance. A mismatched tool version can fail midway through a partition write. Preparation prevents most restore disasters.
Removing root step by step
Open the root manager and use its built in unroot option when one exists. That option tries to remove binaries and restore the stock boot image from its backup. Reboot after the unroot completes. Check whether superuser access is gone. Check whether root checker style apps still report access. If the manager lacks an unroot option then remove modules first and then flash the stock boot image manually. Manual boot flashing needs fastboot access and the exact stock boot file. Keep notes on each step so a failure can be traced.
Unroot order
- Remove modules fully one at a time
- Use the root manager unroot option when present
- Flash the stock boot image when needed
- Boot and verify no superuser access remains
- Flash full stock firmware for a clean state
After root removal test the phone as a normal device for a day before you declare success. Test calls and mobile data and Wi-Fi. Test camera and sensors and secure apps. A phone that boots is not yet a phone that works fully. A leftover module can break a sensor silently. A leftover system change can break an app update silently. Daily testing catches those quiet leftovers. When a problem appears then a full stock flash is the next step rather than another patch.
Flashing full stock firmware
Boot into the flash mode required by the maker tool. Some makers use fastboot mode. Others use a download mode with a maker tool. Follow the maker flash sequence exactly. Do not skip a partition that the tool marks as required. Do not pull the cable during the flash. Watch the tool log for a clear success message. A log that stops midway is not a success. A log with an error on one partition needs investigation before a reboot. Rebooting after a partial flash can loop.
The first boot after a stock flash takes longer than a normal boot. The system builds caches and initialises services. Wait patiently and keep the charger connected. Set up the phone as a fresh device at first. Restore the backup only after basic functions pass. Test calls and data and Wi-Fi before restoring apps. A clean test proves that the firmware itself works. Restoring apps onto a broken firmware hides the real fault. Order matters in recovery work.
Check integrity signals after the restore. Secure apps may still report a problem when a tamper flag remains. That flag is a hardware level record on some devices. A stock flash does not erase every such flag. A warranty claim may still be refused when the flag is present. Accept that limit honestly before you start. A full restore improves trust signals greatly. It does not guarantee a factory perfect trust state on every model.
A restore often precedes the relock decision and the order of those steps matters greatly. The safe bootloader relocking walkthrough explains why relocking must wait until the system is fully stock. Relocking a system that still carries a modification can brick the device. Read that guide after the stock flash and before any relock command. The restore guide and the relock guide form a single return journey. Splitting them apart invites a dangerous shortcut.
Understanding partitions helps a restore succeed because a stock package writes several partitions in a set order. The Android partition schemes walkthrough explains A/B systems and only-A systems in plain language. That knowledge explains why a restore behaves differently across models. It also explains why a slot mismatch can loop a phone. Read the partition guide when a restore log mentions slots or super partitions. A little architecture knowledge prevents a panicked reboot.
The reverse journey begins with the gate that was opened at the start. The bootloader unlocking tutorial explains that gate and the wipe that unlocking causes. Reading it in reverse helps a reader see what must be undone and in what order. Unlocking opened the boot chain. Unrooting removes high level access. Restoring stock rewrites the system. Relocking closes the gate again. Each step has its own risk and its own verification. Treat the return as a project rather than as a single button.
Life after a return to stock
Update the stock system through the normal maker update path after the restore. Install updates one at a time and test basic functions after each one. A restore to an old firmware version may need several updates to reach current state. Do not rush that update chain with unofficial packages. Official updates keep integrity signals clean. They also restore security patches that a custom system may have missed. Patience during updates protects the clean state you just rebuilt.
Reinstall apps gradually rather than restoring every app at once. A bulk restore can reintroduce a misbehaving app that caused the original problem. Install essential apps first and test them for a day. Add secondary apps in small groups. That gradual method isolates a bad app quickly. It also gives the phone time to settle after a major flash. A clean phone deserves a clean app set. Resist the urge to recreate the old clutter in one afternoon.
Verifying a stock restore deeply
A restore that boots is only the first verification. Check the bootloader state and the system version and the security patch level in settings. Check that the maker update service reports the device as up to date or as ready for official updates. Check that secure apps open without tamper warnings. Check that mobile data and calls and sensors all work. Each check covers a different layer of the restore. A restore that passes all layers is trustworthy. A restore that passes only booting is unfinished.
Test app updates after a restore before restoring a large app set. Install one app from the official store and update it. Watch for errors that suggest a broken system component. A system that cannot update apps cleanly still needs work. Fix that problem while the phone is still clean. Restoring dozens of apps onto a broken base only hides the fault under clutter. Clean testing first keeps the restore honest.
Keep the stock firmware file after a successful restore. A future problem may need the same file again. A maker download page can change or remove old packages. A saved file with a verified hash avoids a future search. Store the file on a computer with a note about model and region. That archive turns a future restore from a hunt into a routine. Good archives are built during calm success rather than during panic.
Document the restore for future reference. Note the firmware version and the flash tool and the result of each verification check. Note any tamper flag that remained after the restore. That note prevents false hope during a later warranty claim. It also helps a future buyer understand the device history. Honest documentation closes the modification chapter cleanly. A closed chapter lets the phone start fresh without hidden surprises.
A final restore habit is a post restore snapshot of settings. Record the system version and the security patch level after the restore. Record which secure apps passed their checks. Record any flag that remained. That snapshot becomes the baseline for future troubleshooting. A future problem can then be compared against a known good state. Without a snapshot every future fault feels new even when it repeats an old pattern. Baselines turn repair into comparison rather than guesswork.

