

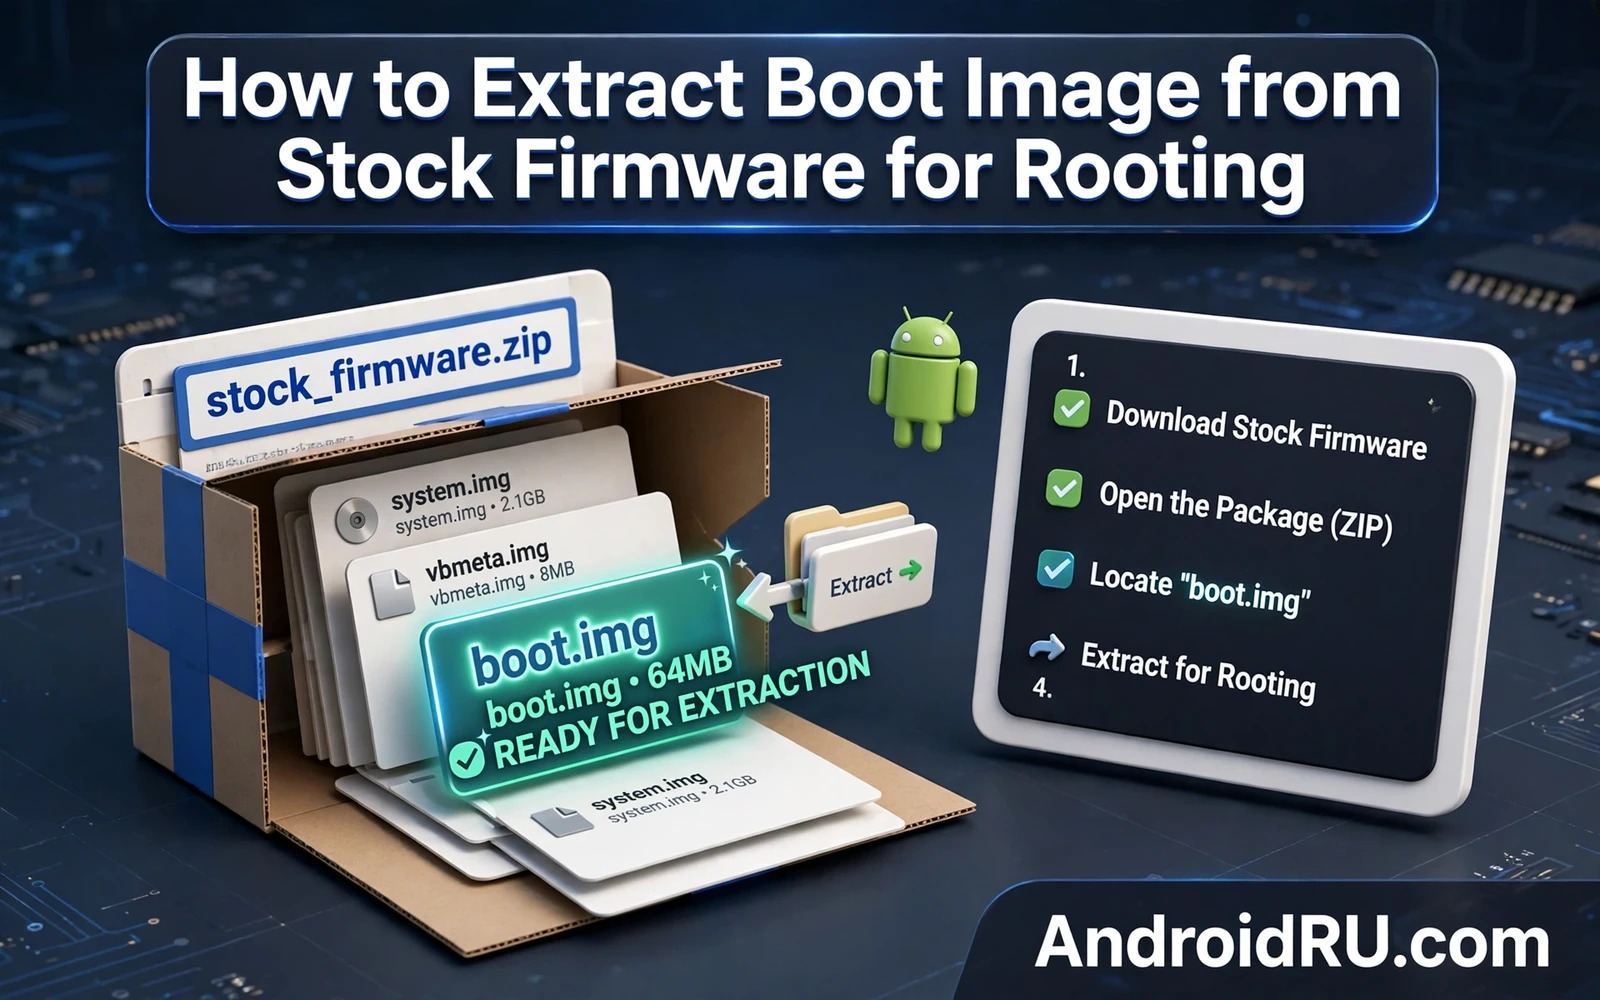
Extracting a boot image from stock firmware is the first step in many root methods. The boot image contains the kernel and the ramdisk that start Android and patching that image is how a root tool gains early control. Stock firmware is the official software package from the device maker and it holds the boot image among many other partition images. This guide explains how to find the right firmware and how to extract the boot image safely and how to verify it before any patching step.
Read the safety warning before you touch firmware or boot images. Flashing a wrong image can cause a bootloop or a brick and it can void the device warranty. Firmware work can also wipe user data when a later flash step resets the phone. Back up photos and videos and documents and accounts before you start and keep a full copy of the untouched stock firmware on a computer. Never flash an image from another model even when the phone name looks similar.
Finding The Correct Stock Firmware
Correct firmware means the exact model and the exact region and the exact software version that matches your phone. A model name alone is not enough because carriers and regions can ship different builds for the same hardware name. Check the model code in settings and check the current build number in settings and match both values to the firmware package. A mismatch can produce a boot image that does not match the running system and a patched image from that mismatch may fail to boot.
Download firmware only from the device maker or from a source that the maker clearly endorses. Random firmware mirrors can host altered packages and an altered boot image can hide harmful code. Check the file size and check any checksum that the trusted source publishes before you extract anything. If the checksum does not match then delete the download and fetch it again from another trusted mirror. Do not proceed with a package that fails its own integrity check.
Bootloader status controls what you can do with the extracted image and the bootloader unlock tutorial explains the wipe warning and the unlock steps that come before flashing. That tutorial pairs with this guide because an extracted boot image alone does not grant root on a locked device. Read it before you patch anything so you understand the full chain from firmware to flashed image to rooted system.
Unpacking Firmware Packages
Stock firmware arrives in different container formats depending on the maker. Some packages are plain archives that open with a normal archive tool and some packages need a maker tool to unpack. Some packages split the system into many files and some packages use a payload format that stores partition images in a single stream. Identify the container type first by inspecting the file list and the file extensions. Do not force an unknown container open with a random tool because a partial unpack can produce a truncated boot image that looks valid but fails at boot.
After unpacking look for a file named for the boot partition in the image list. The name is usually short and clear and it sits beside files for other partitions such as system and vendor and recovery. Copy that boot file to a separate work folder and keep the original package untouched. Working on a copy protects you when an extraction step goes wrong because you can always copy the file again from the untouched package. Record the file size and the source package name next to the copy.
mkdir work-boot
cp boot.img work-boot/boot-original.img
# verify size and keep the stock package untouched
Dynamic Partitions And Payload Extraction
Modern phones with dynamic partitions store partition data in a different layout than older phones. The super partition holds logical partitions and the firmware package may store them through a payload that needs a dedicated extractor. That layout change does not change the boot image itself but it changes how you reach it inside the package. A tool that only understands old archive layouts may miss the boot image entirely on a modern package.
The dynamic partitions guide explains the super image layout and why flashing steps differ on modern devices. That guide helps you understand why a simple fastboot flash command works on one phone and fails on another phone with dynamic partitions. Read it when your firmware uses a payload format or when your phone uses logical partitions. The extra reading prevents a common mistake where a user flashes a boot image with a command meant for an older layout.
Verifying The Boot Image Before Patching
Verification means confirming that the extracted file is truly a boot image and that it matches your device and build. Check the file size against the size reported by the unpack tool and check that the file starts with the expected boot header when your tools can show it. Compare the build number inside the firmware package name with the build number on the phone. A boot image from a newer build may still boot but it can break modules and drivers that expect the older build.
Keep the original boot image as your rollback file forever. A patched image can be replaced by the original image when root fails or when you want to return to stock. Without the original file you may need to download the full firmware again and repeat the whole extraction. Store the original on a computer and on an external drive when possible. A rollback file that lives only on the phone is useless when the phone cannot boot.
Recovery backups add another safety layer and the system partition backup guide shows how to store partition copies before any flash step. That guide pairs with this extraction guide because a partition backup and an original boot image together give you two ways back. Use both when recovery is available on your device. A single safety net is not enough for firmware work.
Common Extraction Mistakes
The most common mistake is extracting from the wrong firmware build. The second most common mistake is patching the recovery image instead of the boot image on devices where those images differ. The third most common mistake is renaming a file and then forgetting which file is original and which file is patched. Use clear folder names and clear file names such as original and patched so the two files never mix. A mixed up file can flash the wrong image at the worst moment.
Firmware Formats By Maker
Firmware formats differ by maker because each maker packages partitions in its own way. One maker may ship a plain archive with separate image files while another maker ships a payload stream that needs a dedicated extractor. A third maker may ship a tool specific package that only its own flashing tool understands. Learn the format for your exact maker before you download a large firmware file. A format mismatch wastes download time and tempts users to force an unpack that corrupts the boot file.
Payload based firmware deserves special care because the extractor must match the payload version. An old extractor may read an old payload correctly and fail silently on a new payload. Check extractor notes for your firmware build before you trust its output. Compare the extracted boot size with the size listed by the extractor log and stop when the numbers disagree. A size mismatch is a clear signal that extraction did not complete cleanly.
Some firmware packages include multiple boot related files for different slots or different hardware revisions. Pick the file that matches your slot and your hardware revision rather than the first file with a similar name. A boot file for the wrong slot may still flash but it may boot with wrong drivers. Label each extracted file with its slot and revision so later steps never mix them.
Keeping A Firmware Library
A firmware library is a folder on a computer with one subfolder per model and per build. Each subfolder holds the untouched firmware package and the extracted original boot file and a text note with the model code and the build number and the download source. That structure makes rollback fast because you can find the right original without searching through old downloads. A messy download folder turns a simple rollback into a guessing game at the worst moment.
Verify the library after you build it by opening each subfolder and confirming that the boot file exists and that its size looks sane. A library entry with a missing boot file is worse than no library because it creates false confidence. Check the library again after any disk cleanup because cleanup tools sometimes delete large firmware files that look like clutter. Protect the library folder from automatic cleanup rules.
Update the library when the phone receives a major system update because the old boot file may not match the new build. Keep the old build entry for rollback to that build and add a new entry for the new build. Two entries cost disk space but they preserve rollback options for both builds. Disk space is cheap compared with a phone that cannot boot.
Boot Image Patching Readiness
Patching readiness means having the original boot file and the patching tool and the flashing method ready before you patch anything. A patching tool version that mismatches your system version can produce an image that fails to boot. Check tool notes for your exact build before you run the tool. A tool update released after your build may target a newer build and may not suit your phone.
Flashing readiness means knowing the exact fastboot command for your device and knowing whether your device needs a special mode for boot flashing. Some devices flash boot from normal fastboot while others need a different mode. Confirm the mode from a trusted guide for your exact model rather than guessing from a generic tutorial. A wrong mode flash can write to the wrong partition.
Rollback readiness means having the original boot file on a computer and knowing the flash command that restores it. Practice the rollback command text before you need it under stress. A rollback command copied correctly in calm conditions works the same under stress. A rollback command guessed during a boot crisis often contains a typing error.
Extraction is a careful reading task not a race. Find the exact firmware and verify the package and copy the boot file and verify the copy and store the original safely. With that order complete you have a trustworthy starting point for any later patching step. Rushing any step in this chain turns a simple extraction into a recovery project.

