

Download APK Adobe Premiere Video Editor Feature Guide, Free and Paid Options & Review
I tried Adobe Premiere Video Editor on my older phone first, because that is the real test for me. New apps often struggle on older hardware. This one loaded in a reasonable time and the layout stayed clear. That gave me confidence to keep it installed and to test it properly, not just open it once and move on.
This is Adobe mobile video editor: a timeline-based app for cutting clips, adding titles and music, fixing colour, and exporting a finished video for social feeds, YouTube, or a client. It sits between the quick template apps and the heavy desktop suite, and that middle ground is exactly where most phone editors live. You get real control without needing a course to use it.
In this guide I walk through the features one by one, explain what the free plan includes and what the paid plan adds, compare it with CapCut, KineMaster, and PowerDirector, and give an honest review with pros, cons, and a verdict for different kinds of editors. If you edit on your phone every week, this is the detail you need before you commit to a subscription.
What Adobe Premiere Video Editor is: Adobe mobile editing on Android
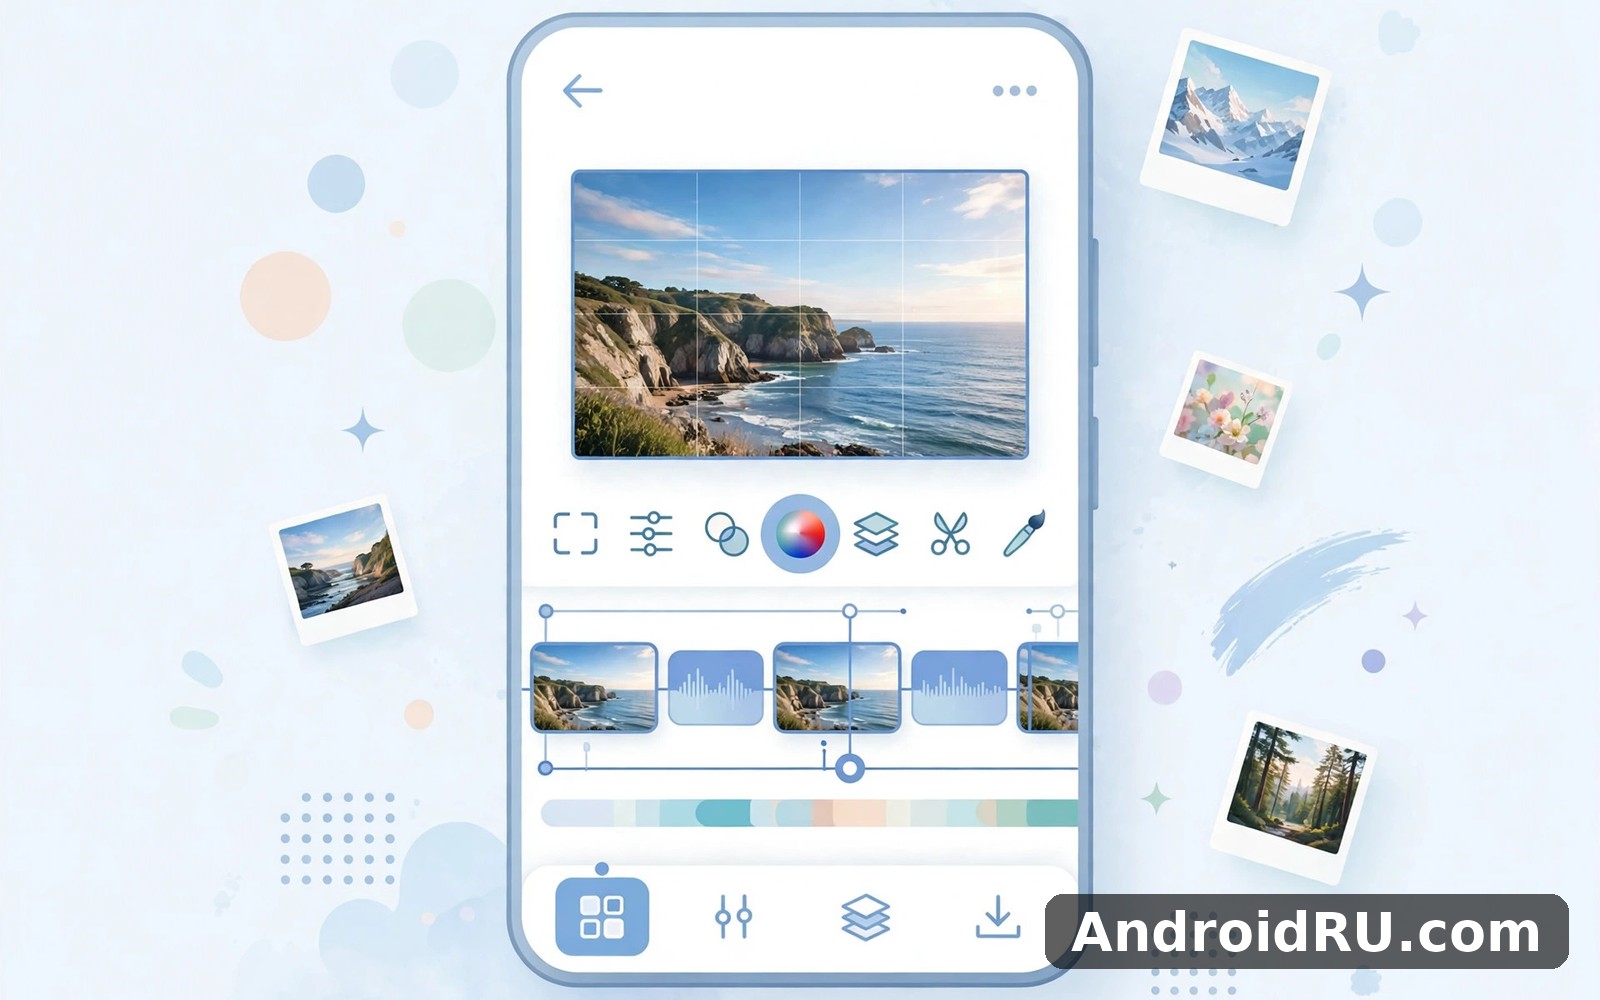
Adobe Premiere Video Editor is the Android home of Adobe video editing on a phone. It is built around a multi-track timeline where video clips, photos, titles, and audio sit on separate lanes, and you drag, trim, and rearrange them with your finger. The interface will feel familiar if you have ever used a desktop editor, and it stays friendly if you have not, because the most common tools sit on the main screen instead of hiding in menus.
The app is aimed at creators who shoot on their phone and finish on their phone: social videos, travel clips, product demos, vlogs, and short films. It handles 4K footage on capable phones, exports in the aspect ratios every platform expects, and syncs projects through your Adobe account so you can start on a phone and pick up work elsewhere. That sync is a quiet advantage that only shows its value the first time your phone runs out of space mid-project.
On a mid-range phone the app stayed responsive in my testing. Screens loaded fast enough that I never dreaded opening it. Buttons were large and labels were clear. I rarely tapped the wrong thing by accident. Heavy 4K timelines are the exception: they ask more of the processor, and on older hardware you will feel it in preview stutter and slower exports.
Who edits with Adobe Premiere Video Editor
The typical user is a creator who outgrew template apps but does not want a desktop. Short-form creators use it for Reels, Shorts, and TikTok clips. Small business owners use it for product videos and ads. Students and hobbyists use it for travel films and family videos. What they share is a need for precise trimming, clean titles, and reliable exports, without a steep learning curve.
If you only ever stitch two clips together and add music, a simpler app will do the job faster. If you want keyframes, colour grading, layered audio, and frame-accurate cuts, this editor earns its place. The dividing line is control: the more of it you want, the more this app makes sense.
Adobe Premiere Video Editor feature guide: timeline, trim and transitions
The feature set is broad, so I will take it in the order you actually use it: import, cut, polish, add sound, then export. Each stage has its own tools, and learning them in that order keeps the app from feeling overwhelming. I spent my first week using one feature per day, and by day seven the whole workflow felt natural.
One thing to know up front: some features sit behind the paid plan, and I mark those clearly in the free versus paid section below. The free tools are enough for a complete video from start to finish, so you can learn the app properly before you spend anything.
Multi-track timeline and clip arrangement
The timeline is the heart of the editor. Video and photo clips sit on the main track, titles and overlays on tracks above, and music, voiceover, and sound effects on audio tracks below. You drag clips to reorder them, pinch to zoom the timeline for fine work, and tap a clip to open its tools. Ripple-style behaviour keeps the timeline tidy when you delete a clip, so gaps do not pile up behind you.
Working with multiple tracks is what separates this editor from one-track apps. You can hold a title over a clip while music fades underneath, or stack a photo over video for a picture-in-picture effect. I use three tracks on most projects: main video, one title or overlay track, and one audio track. That is enough for a polished result without the timeline turning into a maze.
Trim, split and speed controls
Trimming is precise. Drag a clip edge to shorten it, or use the split tool to cut a clip at the playhead and delete the part you do not want. Frame-level accuracy is available when you zoom the timeline right in, which matters for cutting on a beat or removing a stumble in a spoken line. I cut most of my videos by splitting at every mistake, deleting the bad takes, and then tightening the gaps until the pace feels right.
Speed control covers slow motion and fast motion, plus speed ramping on supported clips, so a single clip can ease into slow motion and back out again. That one trick makes travel footage and sport clips look far more professional than a flat speed change. Reverse playback is available too, for the occasional playful effect, though I use it far less than slow motion.
Colour, titles and effects
Colour tools include exposure, contrast, saturation, temperature, and ready-made looks that apply a consistent grade in one tap. The looks are a good starting point, and the manual sliders let you fix a clip that came out too warm or too dark. I grade in two passes: first fix exposure and white balance so every clip matches, then apply a look for mood. Matching clips before grading is the step most beginners skip, and it is the one that makes the biggest difference.
Titles range from simple lower thirds to animated openers, with fonts, sizes, colours, and shadows you can adjust. Effects and transitions cover the usual set: cross dissolve, dip to black, wipes, and motion effects for photos, such as slow zooms that bring a still image to life. Transitions work best when used sparingly. One clean dissolve between scenes beats five flashy wipes every time.
Audio tools: music, voiceover and ducking
Audio gets its own attention in this editor. You can add music from the built-in library or your own files, record a voiceover straight onto the timeline, and adjust volume per clip. Audio ducking lowers the music automatically while someone speaks, which is the difference between a video that sounds professional and one where the music drowns the voice. I set ducking on every talking-head video and check the result with headphones before export.
Auto reframe and aspect ratios for every platform
Auto reframe keeps your subject centred when you switch aspect ratios, so a 16:9 landscape video can become a 9:16 vertical clip without manual repositioning. That matters because the same video often needs three versions: landscape for YouTube, vertical for Shorts and Reels, and square for a feed post. The editor offers the common ratios, including 16:9, 9:16, 1:1, and 4:5, and switching is one tap in the project settings. I always pick the ratio before I start cutting, because reframing a finished edit is far more work than framing it right from the start.
Free vs paid options in Adobe Premiere Video Editor
The free versus paid question decides whether this app is a bargain or a bill, so it deserves a clear answer. The free plan is genuinely usable: you can import clips, cut on a multi-track timeline, add titles and music, and export a finished video. The paid plan, sold as a subscription through Adobe, adds premium assets, more advanced tools, higher export options, and cloud features. Nothing in the free plan stops you from finishing a video.
Prices change by region and by offer, so check the current plan inside the app before you subscribe. Adobe typically bills monthly, with a lower effective monthly price on an annual plan. A free trial is often offered for the paid tier, and it is the sensible way to test whether the premium features matter to your kind of video.
| Feature | Free plan | Paid plan |
|---|---|---|
| Multi-track timeline | Yes, full timeline editing | Yes, plus extra tracks and tools |
| Export quality | HD export, standard options | 4K export and more presets |
| Effects, titles and music | Core set included | Full premium library |
| Cloud sync and storage | Limited | Expanded cloud sync and storage |
| Watermark | Exports without a forced watermark on core edits | No watermark, premium assets included |
| Advanced tools | Basic colour and audio | Advanced colour, audio and effects |
What the free plan includes
The free plan covers the complete editing loop. Import from your camera roll, arrange clips on the timeline, trim and split, add transitions, titles, and music, adjust colour and volume, and export. For social clips, family videos, and short vlogs, that is everything you need. I edited my first three videos entirely on the free plan, and nobody watching them could tell I had not paid a cent.
The limits show up at the edges: fewer premium titles and effects, fewer stock assets, and fewer export presets. If your videos need a specific premium look or 4K delivery for a client, those limits will push you toward the paid plan. For personal and social work, they rarely get in the way.
Premium subscription and what it adds
The paid plan adds the premium asset library, including titles, transitions, effects, and royalty-free music and sound effects, plus advanced tools and higher export quality. Cloud sync expands too, so projects and media move between devices more freely. For a creator who publishes weekly, the music library alone can justify the price, because finding licensed music elsewhere eats hours every month.
Before you subscribe, try this test: edit two full videos on the free plan and note every moment you hit a wall. If the list is short, stay free. If the same premium feature appears twice, the subscription is probably worth it. A subscription should remove a real obstacle, not just add options you never open.
How to edit your first video: a step-by-step workflow
A first video should take an evening, not a weekend. The workflow below is the one I use for almost every project, from a sixty-second social clip to a ten-minute vlog. Follow it in order and you will finish with a video you are happy to share, instead of a half-edited project you abandon.
- Step one, plan the ratio and the story. Pick your aspect ratio first, then write three lines: the opening hook, the middle, and the ending. A video with a plan cuts itself.
- Step two, import and rough cut. Add your clips in story order, split out the mistakes, and delete the dead air. Do not polish anything yet.
- Step three, tighten the pace. Watch the rough cut and cut anything that does not earn its seconds. Most first cuts are a third too long.
- Step four, add titles and transitions. Put a title on the opening, a lower third where a name matters, and one clean transition style throughout.
- Step five, fix colour and sound. Match exposure across clips, add music at low volume, record a voiceover if the video needs one, and turn on ducking.
- Step six, export and review. Export at the quality your platform needs, watch the result on your phone with headphones, and fix anything that jars before you publish.
Import and rough cut: the first thirty minutes
Import is straightforward: tap to add media, pick clips from your gallery, and they land on the timeline in the order you chose. The rough cut is the most important phase, because every minute you spend here saves three minutes later. Cut ruthlessly. A clip that does not move the story forward is a clip that bores your viewer, however pretty it is. I aim to finish the rough cut in one sitting, while the story is still fresh in my head.
Polish, export and share
Polishing is where a video stops looking like raw footage. Match the colour, level the audio, add your titles, and watch the whole thing twice: once for picture, once for sound. Export settings matter here. For social feeds, HD is usually enough and uploads faster. For YouTube or a client, use the highest quality your phone handles comfortably. After export, watch the file on a different screen if you can, because a phone screen hides flaws that a larger display reveals.
Adobe Premiere Video Editor vs CapCut vs KineMaster vs PowerDirector
These four apps chase the same user, the phone editor who wants more than templates, but they get there by different routes. CapCut is the social-first editor, fast and template-rich. KineMaster is the long-time Android favourite with deep layering. PowerDirector is the feature-packed all-rounder with strong desktop roots. Adobe Premiere Video Editor is the one with the cleanest professional workflow and the Adobe ecosystem behind it. The table below compares them on the points that decide a purchase.
| Point | Adobe Premiere Video Editor | CapCut | KineMaster / PowerDirector |
|---|---|---|---|
| Timeline and layering | Multi-track, clean professional layout | Multi-track, template driven | Deep layers, many tracks |
| Ease of learning | Moderate, clear labels | Easy, guided and template led | Moderate to steep |
| Templates and effects | Curated, premium library | Huge template and trend library | Large effect and asset stores |
| Export quality | Up to 4K on paid plan | Up to 4K, varies by plan | Up to 4K on paid plans |
| Free plan value | Full editing loop included | Generous, some effects paid | Good, watermark on free tier |
| Best for | Creators wanting Adobe workflow | Fast social and trend videos | Power users wanting maximum control |
If you enjoy photos and creative editing then Azar is a natural next app to try. It offers a different angle on the same kind of activity. When you want a change of pace then Max Video Player HD All Format covers that need neatly. And for a third option Baby Photo Editor is worth a look as well. I still came back to Adobe Premiere Video Editor for my daily routine. The other apps are useful but they did not replace the simple loop I built here.
Verdict per use case: which editor should you pick
Pick Adobe Premiere Video Editor if you want a clean professional workflow, reliable exports, and a path into the wider Adobe ecosystem. Pick CapCut if you publish trend-led social videos every day and want templates that keep up with what is popular this week. Pick KineMaster or PowerDirector if you want the deepest layering and the most manual control on Android, and you do not mind a steeper learning curve. There is no single winner here. The right editor is the one whose workflow matches how often you publish and how much control you enjoy.
Adobe Premiere Video Editor review: pros, cons and who it is for
After a month of editing on my phone, my review is positive with clear reservations. This is a capable, honest editor that does the core job well: cut clips, add titles and music, fix colour, and export a video you are proud of. It does not try to be a template machine, and it does not pretend to be a desktop suite. That restraint is its strength, and its weakness is that the most exciting assets sit behind the subscription.
Pros of Adobe Premiere Video Editor
- Clean multi-track timeline. Video, titles, and audio on separate lanes make real editing possible on a phone screen.
- Strong free plan. The full editing loop works without paying, so you can finish real videos before you subscribe.
- Reliable exports. Aspect ratios for every platform, HD on free, and 4K on the paid plan.
- Adobe ecosystem. Cloud sync and a familiar workflow for anyone who has used Adobe tools before.
Cons of Adobe Premiere Video Editor
- Premium assets behind a paywall. The best titles, effects, and music need the subscription.
- Heavy on older phones. 4K timelines can stutter and exports take a while on modest hardware.
- Fewer trendy templates. Creators who live on viral formats will find CapCut faster for that job.
Who it is for
This editor is for creators who edit on their phone every week and want control without clutter: vloggers, small business owners, students, and hobby filmmakers. It suits people who value a clean timeline, precise trimming, and dependable exports over a flood of templates. It is less suited to editors who want one-tap viral effects, or to anyone on a very old phone who mainly edits short clips. If you edit with intent rather than on impulse, this app fits your week.
Troubleshooting: exports, crashes and missing media
Most problems in a mobile editor come from three sources: not enough free space, footage that is too heavy for the phone, or a project that grew too large. The fixes below cover the issues I actually hit during testing, and they solve most reports before you need to reinstall anything.
Export fails or takes too long
First, check free space. Exports need room for the finished file plus working space, and a nearly full phone is the most common cause of a failed export. Free up a few gigabytes, close other apps, and try again at a lower resolution to test whether the export pipeline itself works. If HD exports but 4K does not, your phone is telling you its limit, and HD is the honest choice for that device. Long exports also heat the phone, so keep it out of direct sun and off a warm charger while it renders.
Audio out of sync or missing media
Audio drift usually appears after heavy speed changes or on very long clips. Split the clip at the drift point and nudge the audio back into place, or re-import the clip and re-apply the speed change. Missing media happens when a source file moves or a memory card is removed. Keep your project media in one folder on internal storage until the export finishes, and the editor will find it every time. If a clip shows as missing, tap it and relink it to the same file rather than re-editing from scratch.
Adobe Premiere Video Editor FAQ
Is Adobe Premiere Video Editor free to use?
Yes, the core editor is free. You can import, cut, add titles and music, adjust colour, and export without paying. A paid subscription adds premium assets, advanced tools, higher export quality, and expanded cloud features. Start free, edit two full videos, and only subscribe if you keep hitting the same premium limit.
Can Adobe Premiere Video Editor export in 4K?
Yes, 4K export is available on the paid plan, on phones that can handle it. The free plan exports in HD, which is enough for most social feeds and looks clean on a phone screen. If you need 4K for YouTube or a client, check that your phone previews 4K smoothly first, because a stuttering preview usually means a slow export too.
Does it work on older Android phones?
It runs on older phones for HD projects, and my own test on an older device loaded fine and edited smoothly at HD. The strain appears with 4K footage, long timelines, and many effects at once. If your phone is a few years old, stick to HD, keep timelines short, and close background apps before a session. That keeps the experience usable without a new device.
Is Adobe Premiere Video Editor better than CapCut?
It depends on what you edit. Adobe Premiere Video Editor is better for precise, professional-style editing with a clean timeline and the Adobe ecosystem behind it. CapCut is better for fast, trend-led social videos with ready-made templates. Many creators keep both: CapCut for quick trends, Adobe for videos that need careful cutting and colour. Try both free and keep the one whose workflow you actually enjoy.
Final verdict: should you install Adobe Premiere Video Editor?
My verdict is yes, for editors who want control. The free plan is honest, the timeline is the best part of the app, and the exports are reliable across every platform ratio I tested. Its weaknesses, premium assets behind a subscription and heavy 4K demands, are easy to work around by staying on HD and the free plan until you know you need more. Edit two videos this week, one social clip and one longer piece, and you will know by the second export whether this is your editor.
Click here to download the Adobe Premiere Video Editor app
If you want to try a similar tool, Click here to download the Azar app. You can also Click here to download the Max Video Player HD All Format app when you are ready to compare it with this one. Whichever you pick, start with one finished video, not a perfect one, and let the second video be better.

