

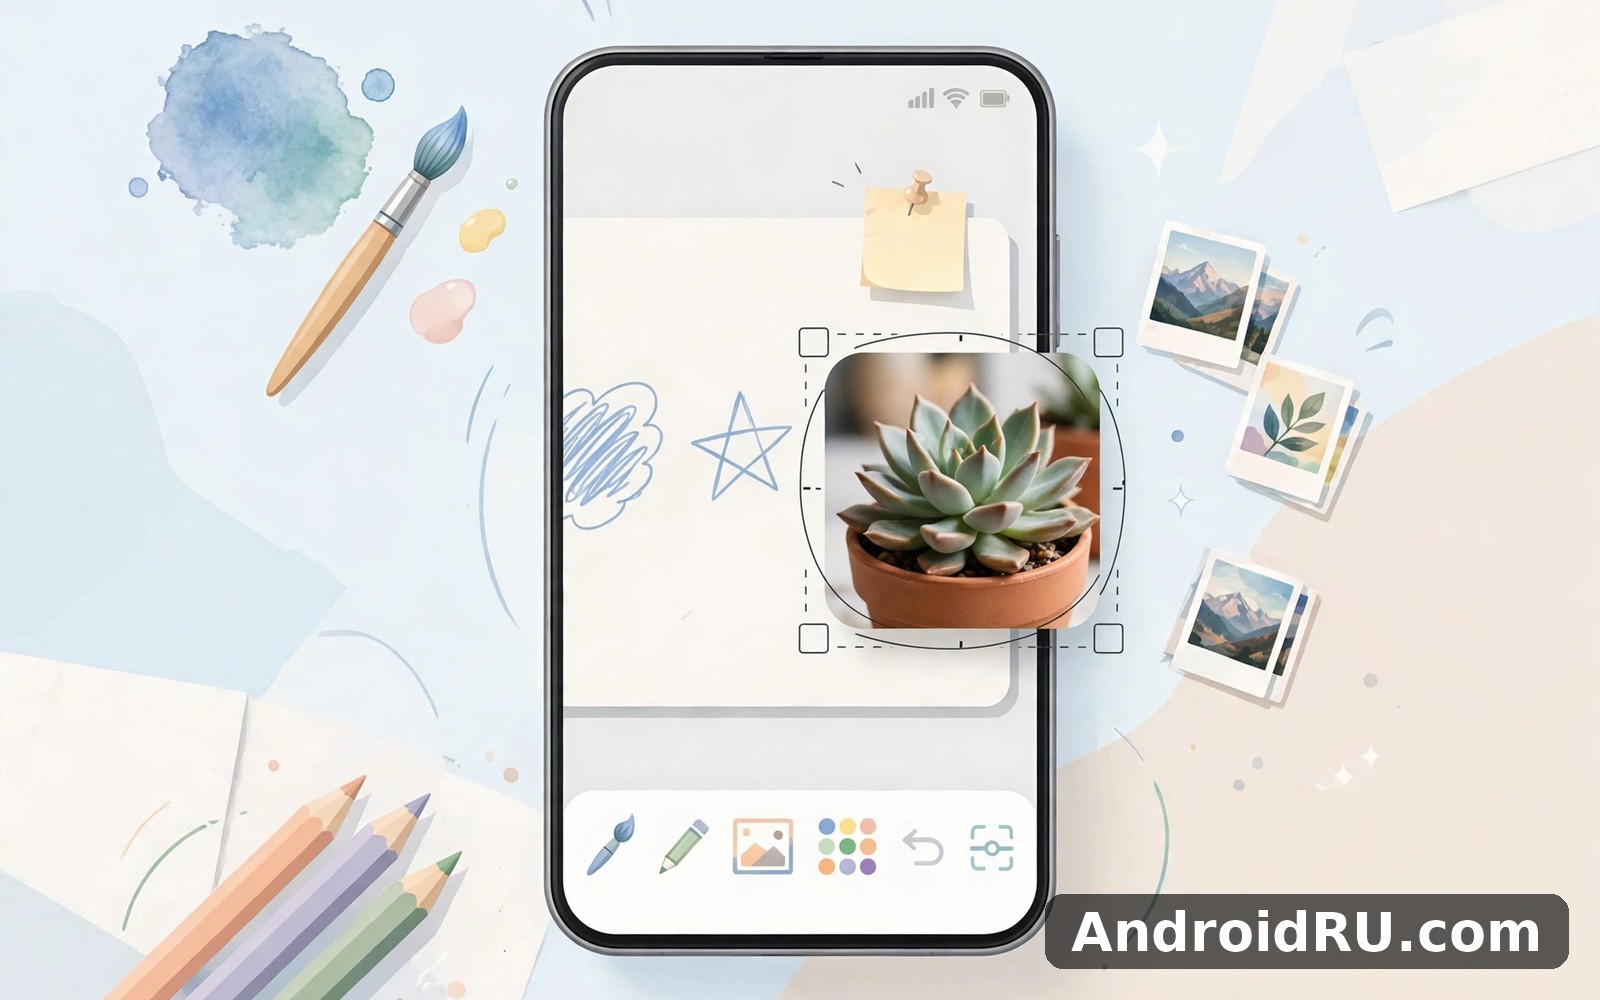
Download APK Whiteboard Drawing Studio Layout Changes, Latest Features & Review
I opened Whiteboard Drawing Studio on a Tuesday morning while my phone was still on charge. I had ten minutes before I needed to leave the house, and I wanted a drawing app that would let me sketch an idea without a tutorial standing in the way. The first screen felt calm. The canvas filled most of the display, the tools sat in a slim bar along one edge, and I did not have to hunt for the brush. That small start made me want to stay a little longer, and by the end of the week the app had become my default place for quick sketches, diagrams, and notes.
This guide covers what the app actually does, how its layout has changed in recent updates, which drawing tools matter in daily use, and where it still falls short. I tested it for two weeks on a mid-range Android phone, using it for everything from rough wireframes for a small project to doodles with my niece on a rainy afternoon. The review at the end is honest: this is a focused drawing tool, not a full illustration suite, and knowing that difference before you install it saves disappointment.
If you are looking for a simple whiteboard you can carry in your pocket, a sketch pad for ideas that arrive at odd moments, or a teaching aid for explaining something visually, the sections below will show you exactly how the app handles each of those jobs, step by step.
What Whiteboard Drawing Studio Is and Who It Is For
Whiteboard Drawing Studio is a digital whiteboard and sketching app for Android. It gives you a blank canvas, a set of pens and brushes, colours, layers, and an eraser, and it lets you save or share what you draw. There is no account to create, no social feed to scroll through, and no project template to pick before you can start. You open the app, you draw, and that directness is the whole appeal.
The app suits several kinds of user. Students use it to work through maths problems and annotate lecture slides. Teachers use it to sketch diagrams during a lesson or to record a quick explanation. Designers use it to capture wireframe ideas before moving to a heavier tool on a computer. Parents use it as a mess-free colouring book for children. I used it most for quick diagrams: a flow chart for a work task, a floor plan sketch for rearranging a room, and a mind map for planning a weekend trip.
What it is not, and this matters, is a professional illustration app. It has no vector paths, no advanced blending modes, and no pressure sensitivity settings beyond what your device hardware already provides. If you need those, you will outgrow it. If you need a fast, reliable place to draw, erase, and share, it does that job well.
How the canvas and drawing area work
The canvas is a plain white surface by default, and you can pinch to zoom in for fine detail or zoom out to see the whole page. Panning uses two fingers, which stops accidental movement while you draw with one finger or a stylus. I tested it with a cheap passive stylus and with my finger, and both worked, though the stylus gave cleaner lines for small writing. The canvas has no fixed page size in the free version, so you can keep drawing in any direction and the surface expands as you go.
Whiteboard Drawing Studio file types and saving
Drawings save as images on your device, and you can also keep them inside the app as editable projects. Saving a project preserves your layers, so you can reopen it later and keep working. Exporting flattens the drawing into a single image file, which is what you want when you share it with someone else. I saved every sketch twice during testing, once as a project and once as an exported image, and the exported image always matched what I saw on screen.
Autosave behaviour I noticed in daily use
The app saves your work automatically as you draw, and I never lost a sketch when a call interrupted me or when the phone locked itself. That said, autosave is not a substitute for exporting a finished piece. Export the image when a drawing matters, because an in-app project only lives inside this app, while an exported image can be backed up, printed, or sent anywhere.
Whiteboard Drawing Studio Layout Changes in Recent Updates
The layout has changed noticeably across recent updates, and most of the changes make the app easier to use with one hand. The tool bar that used to sit across the top now sits along the left edge in landscape and along the bottom in portrait, which keeps the canvas clear and puts the brush, eraser, and colour picker within thumb reach. The change took me an afternoon to get used to, and after that I preferred it, because my palm no longer covered the tool I needed next.
The colour picker moved from a separate pop-up screen into a sliding panel that opens over the canvas without leaving your drawing. You can pick a colour, adjust its shade, and return to drawing in two taps. The layer panel also moved: it now slides in from the right edge instead of opening as a full-screen page, so you can toggle a layer on and off while still seeing the drawing underneath. These are small changes individually, but together they cut the number of taps needed for common tasks roughly in half.
The menu for saving, sharing, and starting a new canvas also changed. It used to hide behind a small icon that was easy to miss; it now sits as a clear three-line menu in the top corner, with labels next to each option instead of icons alone. New users find the save button faster now, and that alone fixes one of the most common complaints about older versions, which was that people drew something lovely and then could not find how to keep it.
Old layout versus new layout side by side
In the old layout, the brush size slider lived in a settings page, the colour picker opened a new screen, and the layers panel took over the whole display. In the new layout, brush size is a slider directly under the brush icon, colours open as a panel over the canvas, and layers slide in from the side. The practical result is that changing tools mid-drawing no longer breaks your flow, and you spend more time drawing and less time navigating menus.
What the new layout means for one-handed use
On a phone, the bottom tool bar in portrait mode is the biggest win. Your thumb rests naturally near the brush, eraser, undo, and colour controls, and the canvas stays above your hand. On a tablet in landscape, the left-edge bar works the same way for a stylus in the right hand. Left-handed users can flip the bar to the other side in settings, which is a thoughtful touch that many drawing apps skip.
Settings worth changing on first launch
Three settings are worth setting on day one. First, set the default canvas background to white, lined, or grid depending on whether you sketch, write, or plan. Second, turn on palm rejection if your device supports it, so resting your hand on the screen does not leave stray marks. Third, pick your default brush size and colour so every new canvas starts the way you like it.
Whiteboard Drawing Studio Brushes, Pens and Drawing Tools
The tool set is small on purpose. You get a pen, a marker, a pencil, a highlighter, and an eraser, each with adjustable size and opacity. The pen draws a clean, even line that suits writing and diagrams. The marker is thicker and slightly textured, which suits bold headings and emphasis. The pencil has a softer, grainy edge that suits shading and rough sketches. The highlighter sits behind your lines rather than over them, so you can mark up a diagram without covering the drawing underneath.
Brush size is a slider from fine to broad, and opacity is a separate slider, so you can make a faint pencil sketch or a solid black heading with the same tool. I used the pen at medium size for handwriting, the marker at large size for titles, and the highlighter at low opacity for shading. The combination covers most everyday drawing without a confusing list of twenty brushes you will never touch.
The eraser deserves a mention because it behaves properly. It has two modes: a stroke eraser that removes a whole line at once, and a pixel eraser that removes only the part you touch. The stroke mode is fast for clearing a wrong line, while the pixel mode is precise for cleaning up a small corner. Many simple drawing apps only offer one mode, and the missing mode is the one you need at the worst moment.
How the pen tool handles handwriting and notes
Handwriting feels natural once you set the pen size to match your writing. On a phone screen, a medium pen size with the canvas zoomed to about 150 percent gave me the most readable notes. The app smooths lines slightly as you draw, which removes the wobble that comes from writing with a fingertip, but it does not over-smooth, so your writing still looks like yours.
Highlighter and marker tips for diagrams
For diagrams, draw the structure first with the pen, then add the highlighter over the parts you want to emphasise, and finish with the marker for labels. That order keeps the diagram readable, because the highlighter never covers the lines beneath it. I used this exact order for a flow chart during testing, and the result was clear enough to share with a colleague without any explanation.
Whiteboard Drawing Studio Layers, Colours and Undo Controls
Layers are the feature that separates this app from a basic sketch pad. Each layer is a transparent sheet stacked on top of the others, and you can draw on one layer without touching the rest. I used one layer for the outline of a diagram, one for the labels, and one for shading, which meant I could erase and redo the labels without damaging the outline. That separation saves real time when a drawing goes through several revisions.
The layer panel lets you add, rename, reorder, hide, and merge layers. Hiding a layer is useful when you want to compare a drawing with and without a detail, and merging layers is useful when a drawing is finished and you want to tidy it up. The app supports enough layers for everyday work; I tested with eight layers on a single drawing and the app stayed responsive, though very large canvases with many layers can slow down on older phones.
The colour picker offers a palette of common colours, a custom colour wheel, and a recent colours row that remembers the shades you used last. That recent row is quietly useful, because most drawings use the same three or four colours throughout, and picking them from the recent row is faster than finding them on the wheel each time. You can also set a custom background colour for the canvas, including lined and grid backgrounds that help with handwriting and diagrams.
Undo and redo sit in the main tool bar, and they work the way you expect: undo steps back one stroke at a time, redo steps forward again. The undo history survives while the project is open, and I undid more than twenty strokes in a row during testing without any loss of earlier work. The one limit to know is that closing a project clears the undo history, so finish your corrections before you leave a drawing.
How many layers should a beginner use
Start with two layers: one for the main drawing and one for notes and labels. That split alone prevents most accidents, because a wrong label never damages the drawing beneath it. Add a third layer for shading or colour only when the drawing gets complex enough to need it. More layers help organisation, but each extra layer adds a little mental overhead, so keep the count as low as the drawing allows.
Colour palettes that work well on a white canvas
Dark blue, dark green, and warm red read clearly on white and look good when exported. Pale yellow and light grey look fine on screen but can disappear when printed or viewed in bright sunlight, so reserve them for shading rather than for text. If you plan to print a drawing, test the export on paper once before you rely on it, because screen colours always look brighter than printed ones.
Whiteboard Drawing Studio Latest Features, Export and Sharing Options
Recent updates added several features that make the app more useful for sharing work. The export menu now offers PNG and JPG, with a quality setting for JPG that lets you balance file size against sharpness. PNG keeps lines crisp and is the better choice for diagrams and handwriting, while JPG produces smaller files that are easier to send over a slow connection. I exported the same diagram in both formats: the PNG was sharper around thin lines, and the JPG was about a third of the size.
Sharing works through the standard Android share sheet, so you can send a drawing to email, a messaging app, or a cloud drive without leaving the app. You can also copy a drawing to the clipboard and paste it into a document or a notes app. The app also supports importing an image onto the canvas, which turns it into a markup tool: load a photo, a screenshot, or a page from a document, then draw arrows, circles, and notes on top of it. I used this to annotate a screenshot of a floor plan, and it worked well enough that I now use it instead of a separate markup app.
Another recent addition is a set of shape tools: straight lines, rectangles, circles, and arrows that snap into place as you draw them. Holding a shape while you draw keeps it clean, which matters for diagrams where a wobbly circle looks careless. There is also a text tool that lets you type a label instead of handwriting it, which is useful when the label needs to be perfectly readable. These tools do not turn the app into a design program, but they close the gap between a freehand sketch and a presentable diagram.
| Tool or feature | What it does | Best for |
|---|---|---|
| Pen | Clean even line, adjustable size and opacity | Writing, outlines, diagrams |
| Marker | Thick textured stroke | Headings, emphasis, bold shapes |
| Pencil | Soft grainy line | Shading, rough sketches |
| Highlighter | Transparent colour behind lines | Marking up diagrams and notes |
| Eraser | Stroke mode and precise mode | Fixing mistakes without damage |
| Layers | Separate transparent sheets | Revising labels without touching art |
| Shapes | Line, rectangle, circle, arrow | Clean diagrams and flow charts |
| Text tool | Type labels onto the canvas | Readable titles and annotations |
| Export PNG or JPG | Save and share a flat image | Sending, printing, backing up |
How to export a drawing at the best quality
Choose PNG when the drawing has thin lines, handwriting, or text, because PNG keeps edges sharp. Choose JPG only when file size matters more than sharpness, such as sending a photo-like sketch over a slow connection. Before exporting, zoom out and check the whole canvas for stray marks at the edges, since the export includes everything on the canvas, not just the part you were looking at.
Using imported images as a background for markup
Import a photo or screenshot, place it on its own layer, and lock that layer so your marks never move the image by accident. Then draw on a layer above it. This setup works well for annotating maps, marking up a photo of a room before redecorating, or explaining a screenshot to a colleague. Export the result as a PNG so the annotations stay crisp.
Sharing a drawing with someone who does not have the app
Export as PNG and send the image file, not the project file, because the project only opens inside Whiteboard Drawing Studio. The exported image opens on any phone or computer, and the recipient does not need to install anything. If the drawing is a diagram for work, add a short message explaining what the arrows mean, because a diagram without context can confuse the person receiving it.
Whiteboard Drawing Studio Review: Pros, Cons and Honest Verdict
After two weeks of daily use, my view is that Whiteboard Drawing Studio does one job well and does not pretend to do more. It is fast to open, easy to learn, and reliable at saving work. The new layout is a genuine improvement, the layer support is better than most free drawing apps offer, and the export options cover the formats most people need. For quick sketches, diagrams, notes, and markup, it is one of the better free options on Android.
That said, the app has limits you should know before you commit to it. There is no cloud sync, so your drawings live on one device unless you export them yourself. There is no pressure sensitivity control beyond what the hardware provides, and no vector editing, so a drawing cannot be scaled up cleanly the way a vector file can. Ads appear in the free version, and while they never interrupted me mid-stroke, they do sit in the interface. These are fair trade-offs for a free app, but they are trade-offs all the same.
Layers and a proper two-mode eraser are the features that lift this app above a basic sketch pad, and they are the reason I kept using it after the first week. A sketch pad lets you draw; this app lets you revise, and revision is where most drawings actually get finished.
| Area | What works well | What could be better |
|---|---|---|
| Ease of use | Opens fast, clear tools, no account needed | Shape tools are basic, no templates |
| Drawing tools | Pen, marker, pencil, highlighter, two-mode eraser | No pressure controls, no custom brushes |
| Layers | Add, rename, hide, reorder, merge | Many layers can slow older phones |
| Sharing | PNG and JPG export, Android share sheet | No cloud sync, projects stay on one device |
| Layout | Bottom bar in portrait, sliding panels | Takes an afternoon to relearn after update |
Pros of Whiteboard Drawing Studio
First, it opens fast and lets you draw immediately, with no account and no setup. Second, layers and a two-mode eraser make revision practical rather than painful. Third, the new layout puts the tools you need within thumb reach and keeps the canvas clear. Fourth, PNG and JPG export plus image import make it useful for real work, not just doodles. Fifth, it runs well on mid-range phones without demanding a stylus or a flagship device.
Cons of Whiteboard Drawing Studio
First, there is no cloud sync, so drawings stay on one device unless you export them. Second, there are no advanced illustration features such as vector paths or custom brushes. Third, the free version shows ads, and removing them requires a purchase. Fourth, very large canvases with many layers can feel slow on older phones.
Who Whiteboard Drawing Studio suits best
This app suits students, teachers, and anyone who needs to explain something visually in a hurry. It suits people who sketch ideas, annotate screenshots, and plan on the go. It does not suit professional illustrators who need vector editing or pressure-sensitive brushes, and it does not suit anyone who needs their drawings synced across several devices automatically. For its intended audience, though, it is a strong, honest tool.
Other Creative Apps Worth Knowing Alongside Whiteboard Drawing Studio
No single app covers every creative need, and the apps around Whiteboard Drawing Studio fill useful gaps. If you enjoy styling and trying new looks, Wig Studio 1 is a natural next app to try for experimenting with hairstyles and appearance ideas. For a simpler whiteboard experience with fewer tools and a lighter footprint, Whiteboard covers that need neatly without the extra panels and settings. And if you like browsing creative tools and studio-style apps in one place, Shop the Blu Studio is worth a look as well for discovering related apps you might not have found on your own.
Each of those apps serves a different purpose, so the choice depends on what you want to do. Use Whiteboard Drawing Studio when you need layers, markup, and export options. Use a simpler whiteboard when you want the lightest possible tool for a quick sketch. Use a styling app when the task is appearance rather than drawing. Keeping the right tool for each job means you never have to force one app to do something it was not built for.
Frequently Asked Questions About Whiteboard Drawing Studio Layout and Features
What changed in the Whiteboard Drawing Studio layout?
The tool bar moved to the bottom in portrait and to the left edge in landscape, the colour picker became a sliding panel over the canvas instead of a separate screen, and the layer panel now slides in from the right instead of taking over the display. The save and share menu also gained text labels next to its icons, so the save button is easier to find than it was in older versions.
How do I use layers in Whiteboard Drawing Studio?
Open the layer panel from the right edge, tap to add a new layer, and draw on it. Use one layer for the main drawing and another for labels so you can erase a label without damaging the drawing underneath. You can hide a layer to compare versions, reorder layers to change what sits on top, and merge layers when the drawing is finished.
Can I export my drawing as a PNG or JPG?
Yes. Open the menu, choose export, and pick PNG for sharp lines and text or JPG for a smaller file. PNG is the better choice for diagrams and handwriting, while JPG suits photo-like sketches where file size matters. The exported image saves to your device and can be shared through the Android share sheet.
Why is my drawing slow or lagging on an older phone?
Large canvases with many layers demand more memory, and older phones feel that first. Merge layers you no longer need to edit, reduce the canvas zoom while drawing, and close other apps running in the background. If the lag stays, export the drawing, start a fresh canvas at a smaller size, and import the exported image as a background layer to continue working on it.
Does Whiteboard Drawing Studio work without an internet connection?
Yes, drawing, saving projects, and exporting images all work offline, because your work lives on the device. You only need a connection when you want to share a drawing through email or a messaging app, or when you want to back up an exported image to a cloud drive.
Final Verdict and What to Try First
Whiteboard Drawing Studio is a focused, reliable drawing tool that respects your time. The layout changes in recent updates make it easier to use with one hand, the brush and layer tools cover everyday drawing well, and the export options mean your work can leave the app whenever you need it to. It will not replace a professional illustration program, and it does not try to. For sketches, diagrams, notes, and markup, it earns a place on the home screen.
If you only try one thing today, draw a real diagram with two layers and export it as a PNG. That single test shows you the whole app: the tools, the layers, the layout, and the export. If that flow feels good, the app will serve you well. If you are ready to try it, Click here to download the Whiteboard Drawing Studio app. For the related apps mentioned above, Click here to download the Wig Studio 1 app, and Click here to download the Whiteboard app.

